New makeup loot in the house! You know what that means, right? It’s time for another makeup tutorial! I must say, I haven’t been this excited about makeup for a long time, but because these products are so hard to find here in the Philippines, I just can’t help but share them with you ASAP. Thank God for online makeup store, Luxola, for making them available to the rest of world!

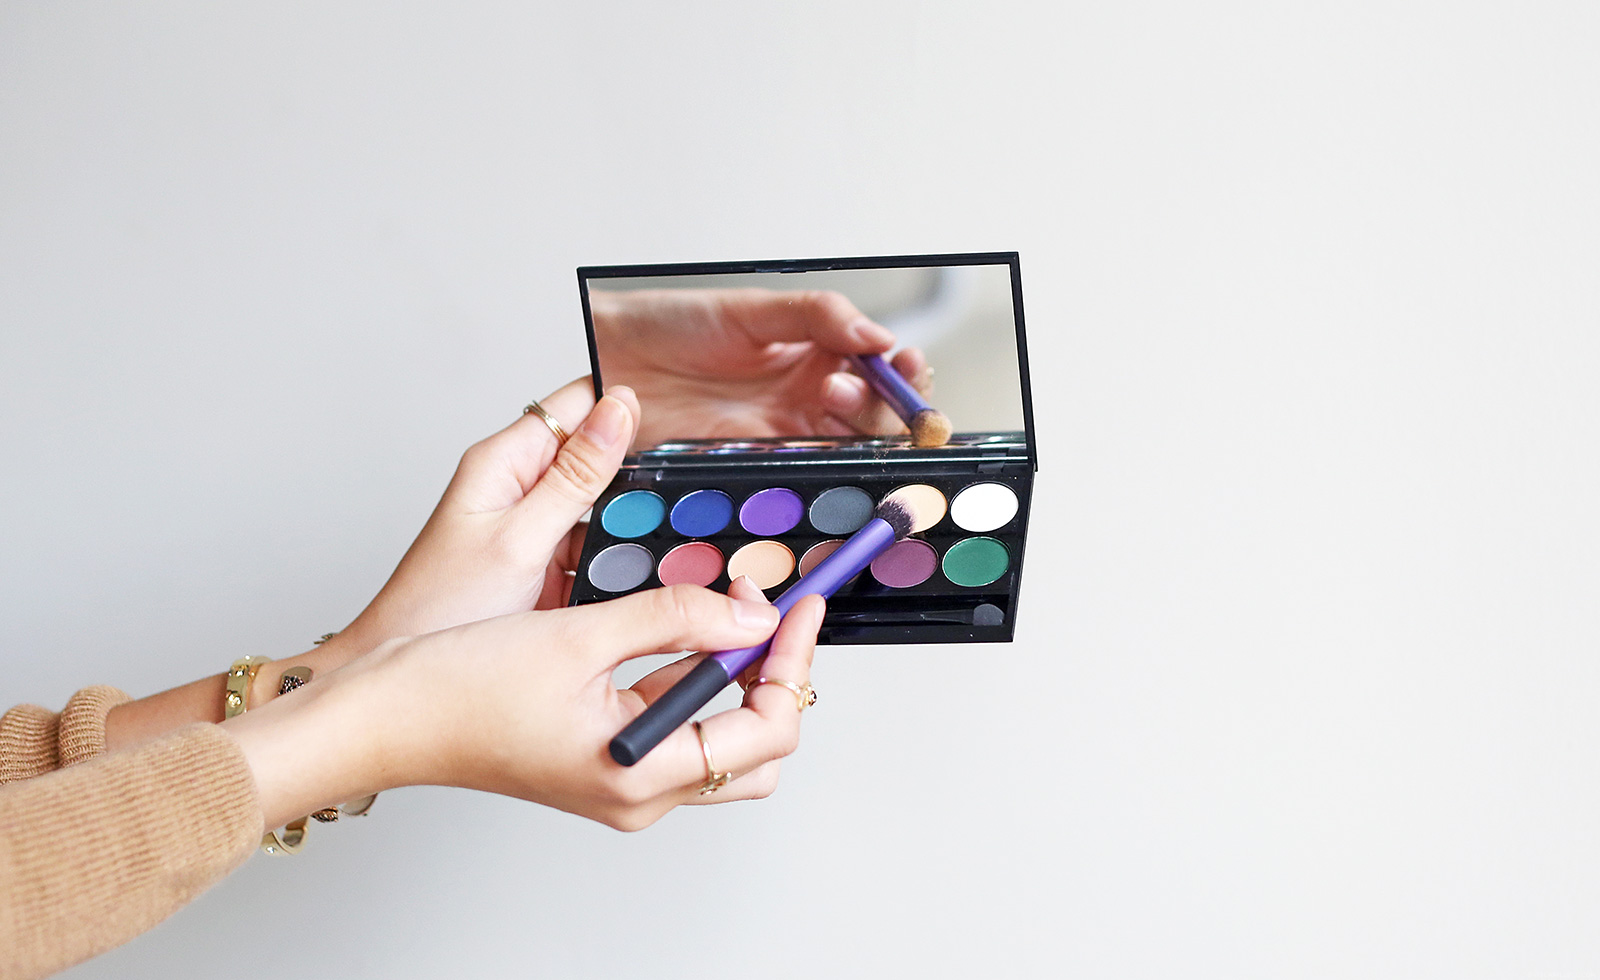
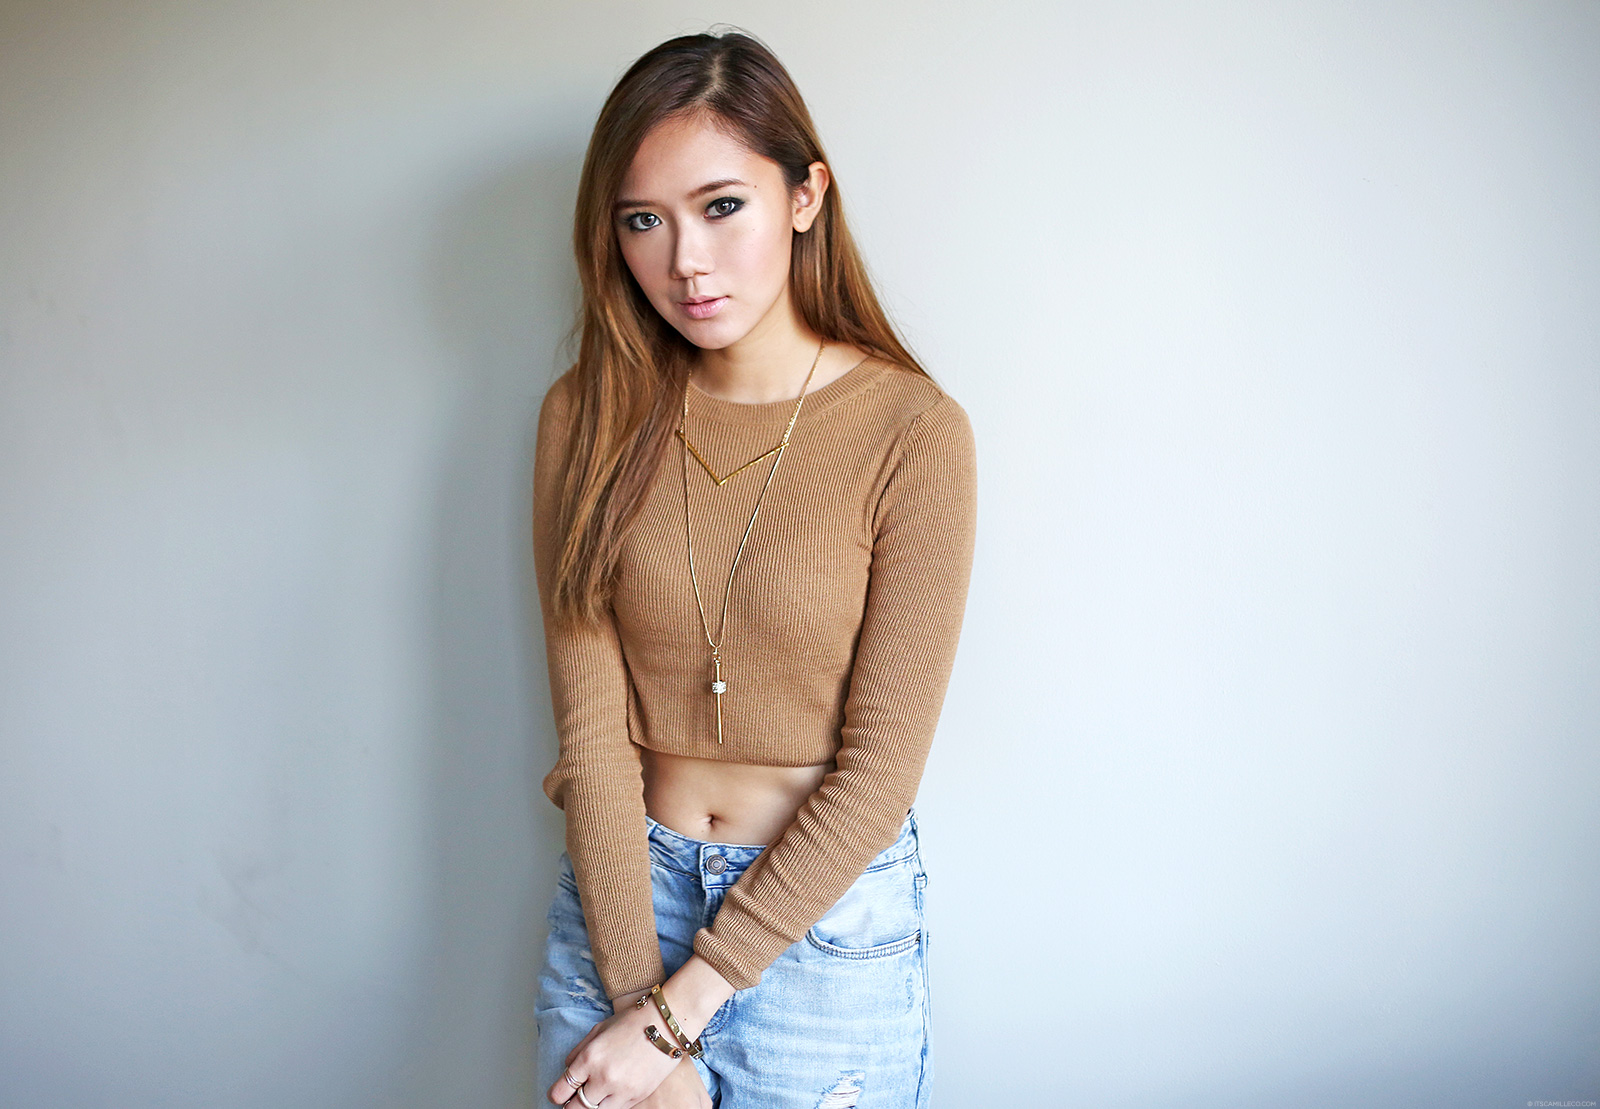
Without further ado, here are my weapons for today’s tutorial–3CE (3 Concept Eyes) Glossing Waterful Foundation, Sleek MakeUp i-Divine Ultra Mattes V2 Dark Palette, Edward Bess All Over Seduction Illuminateur Visage and Sleek MakeUp Face Contour Kit. Once again, you can get all of these (plus many others) from Luxola and you can even enjoy 20% off on your first time purchase by using my coupon code BLX-CAMILLE.
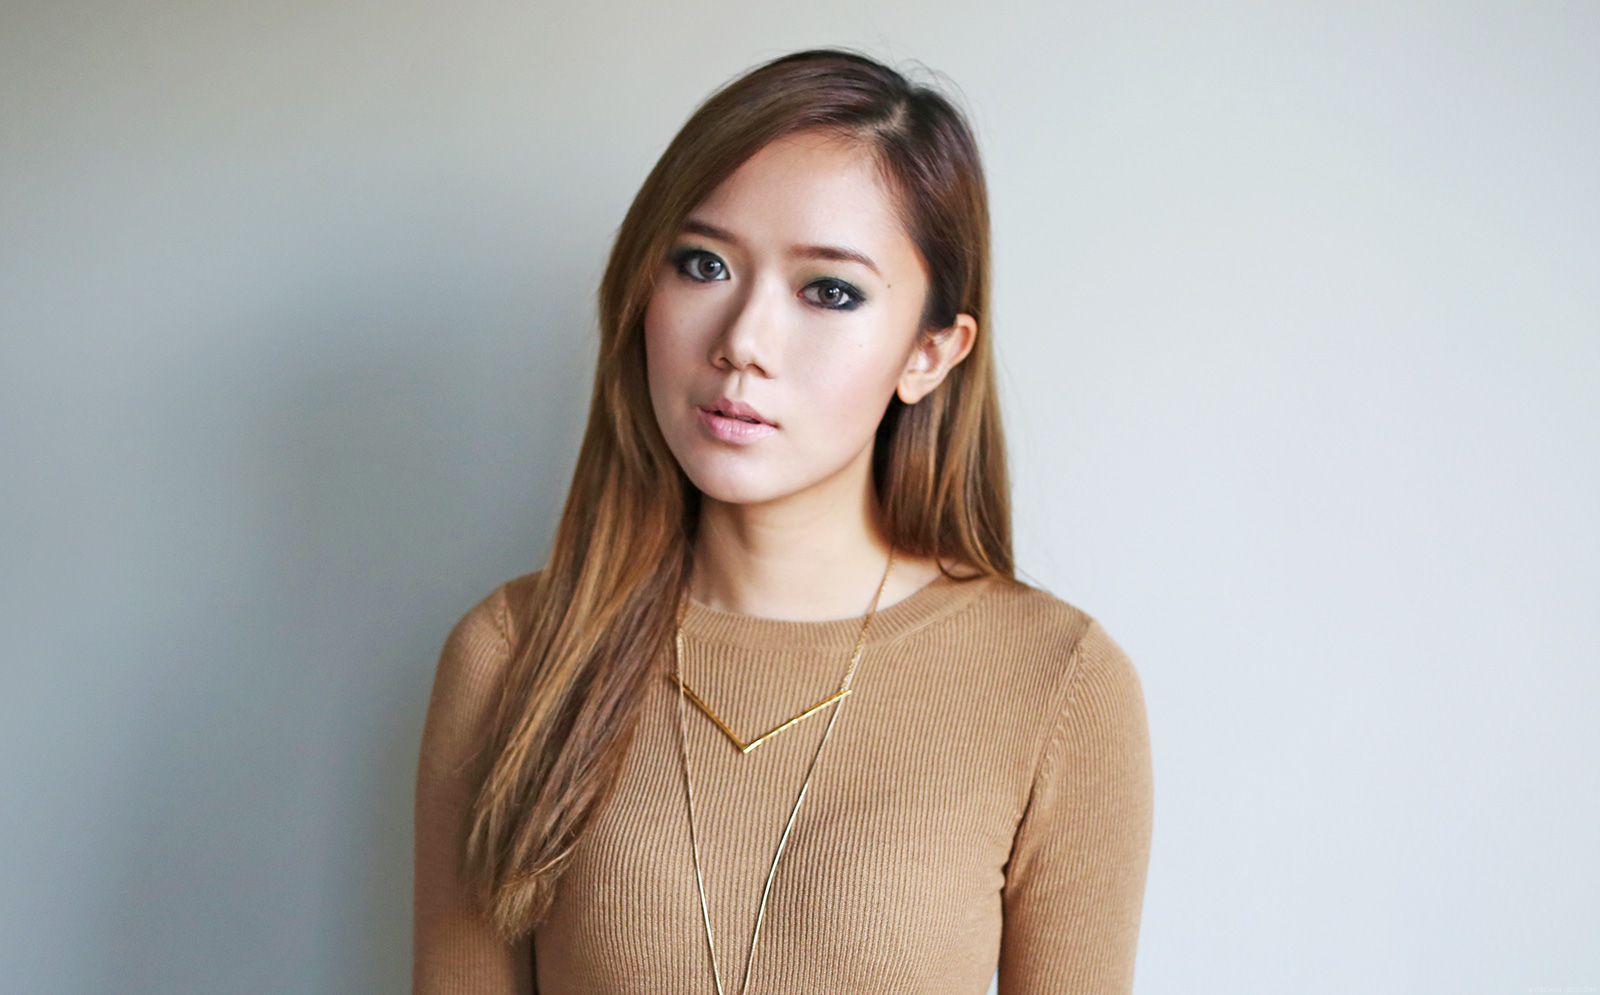
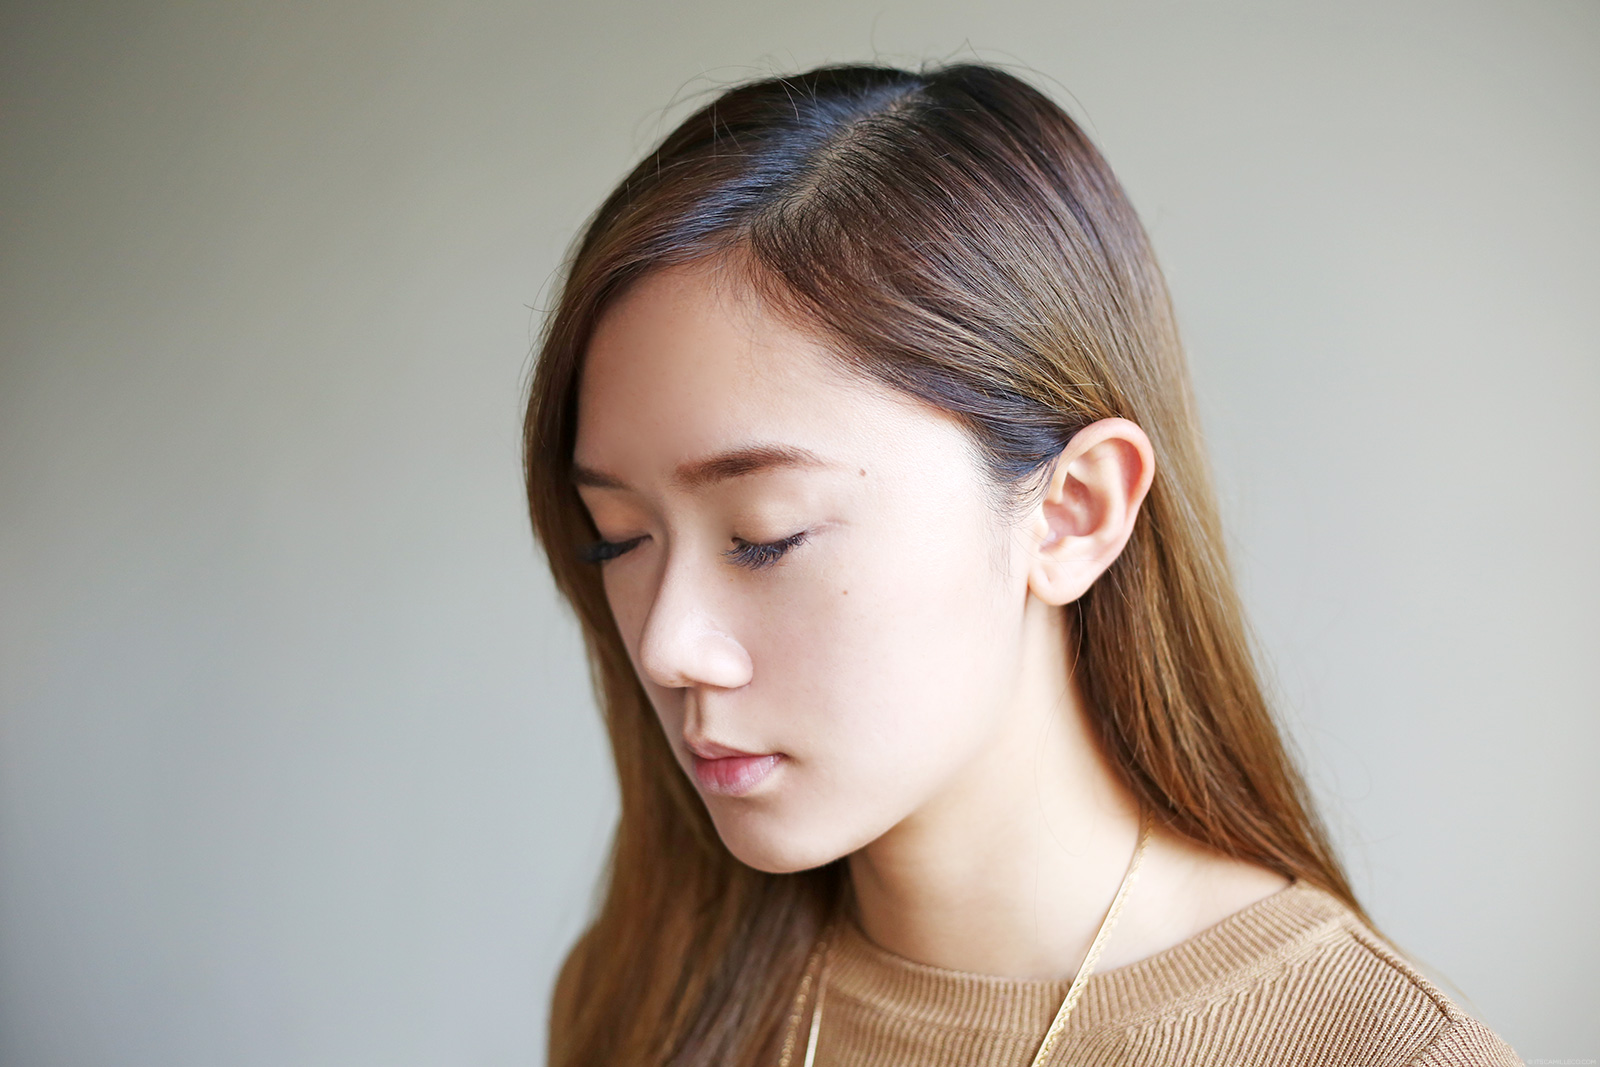
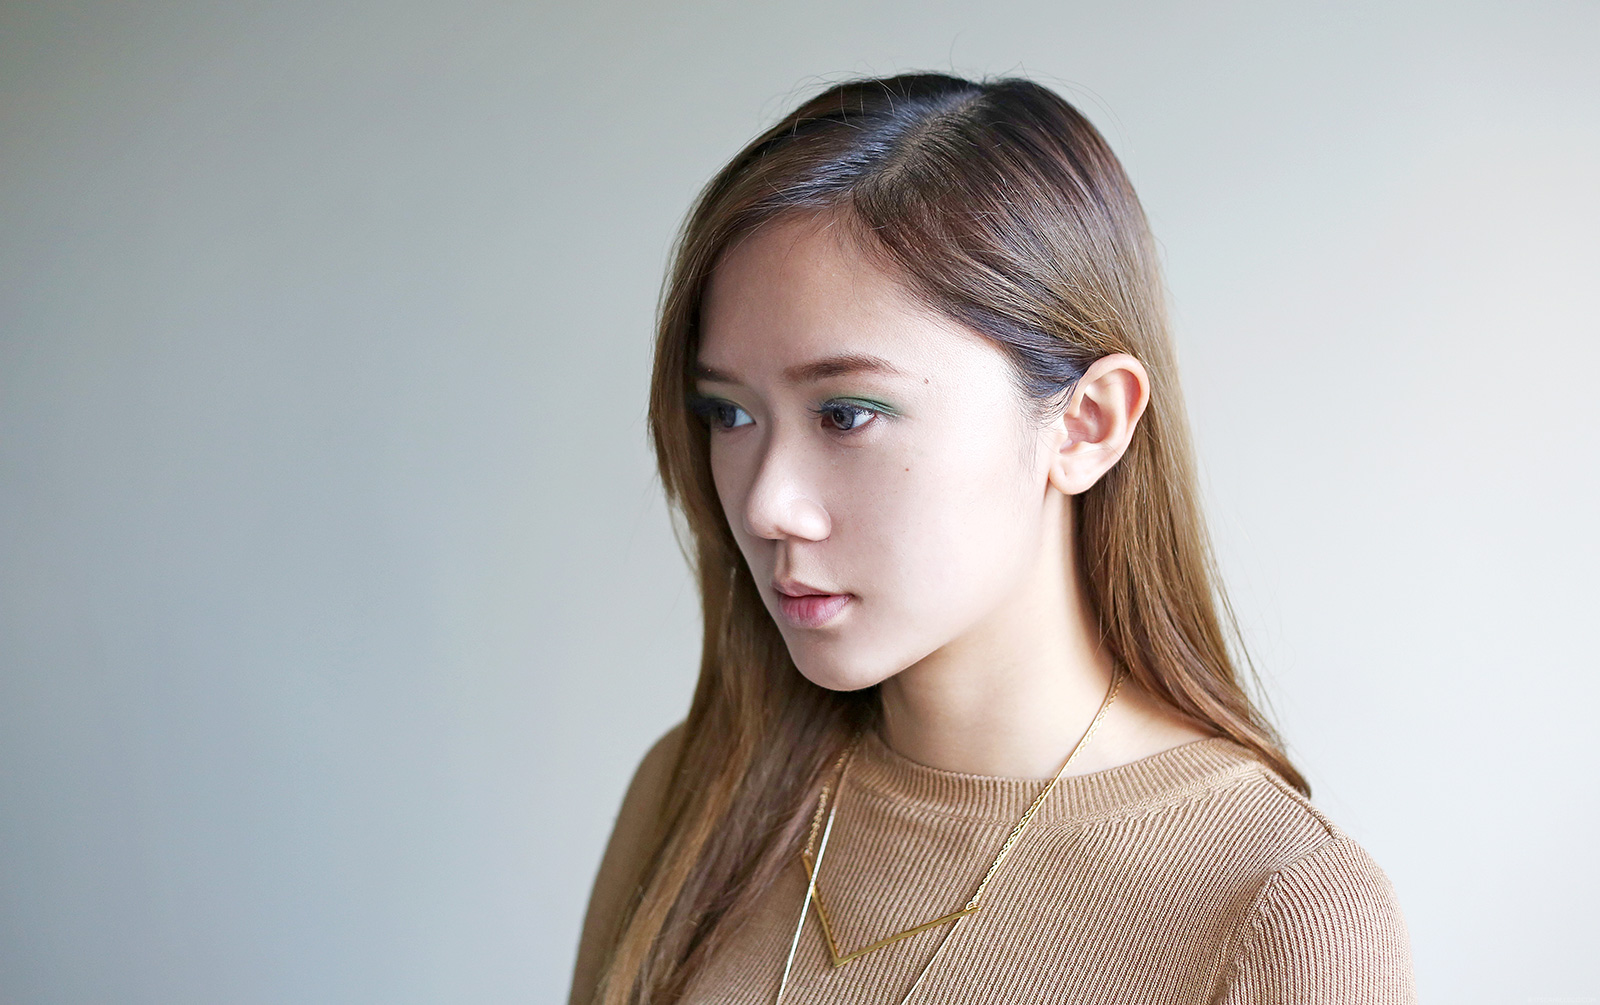
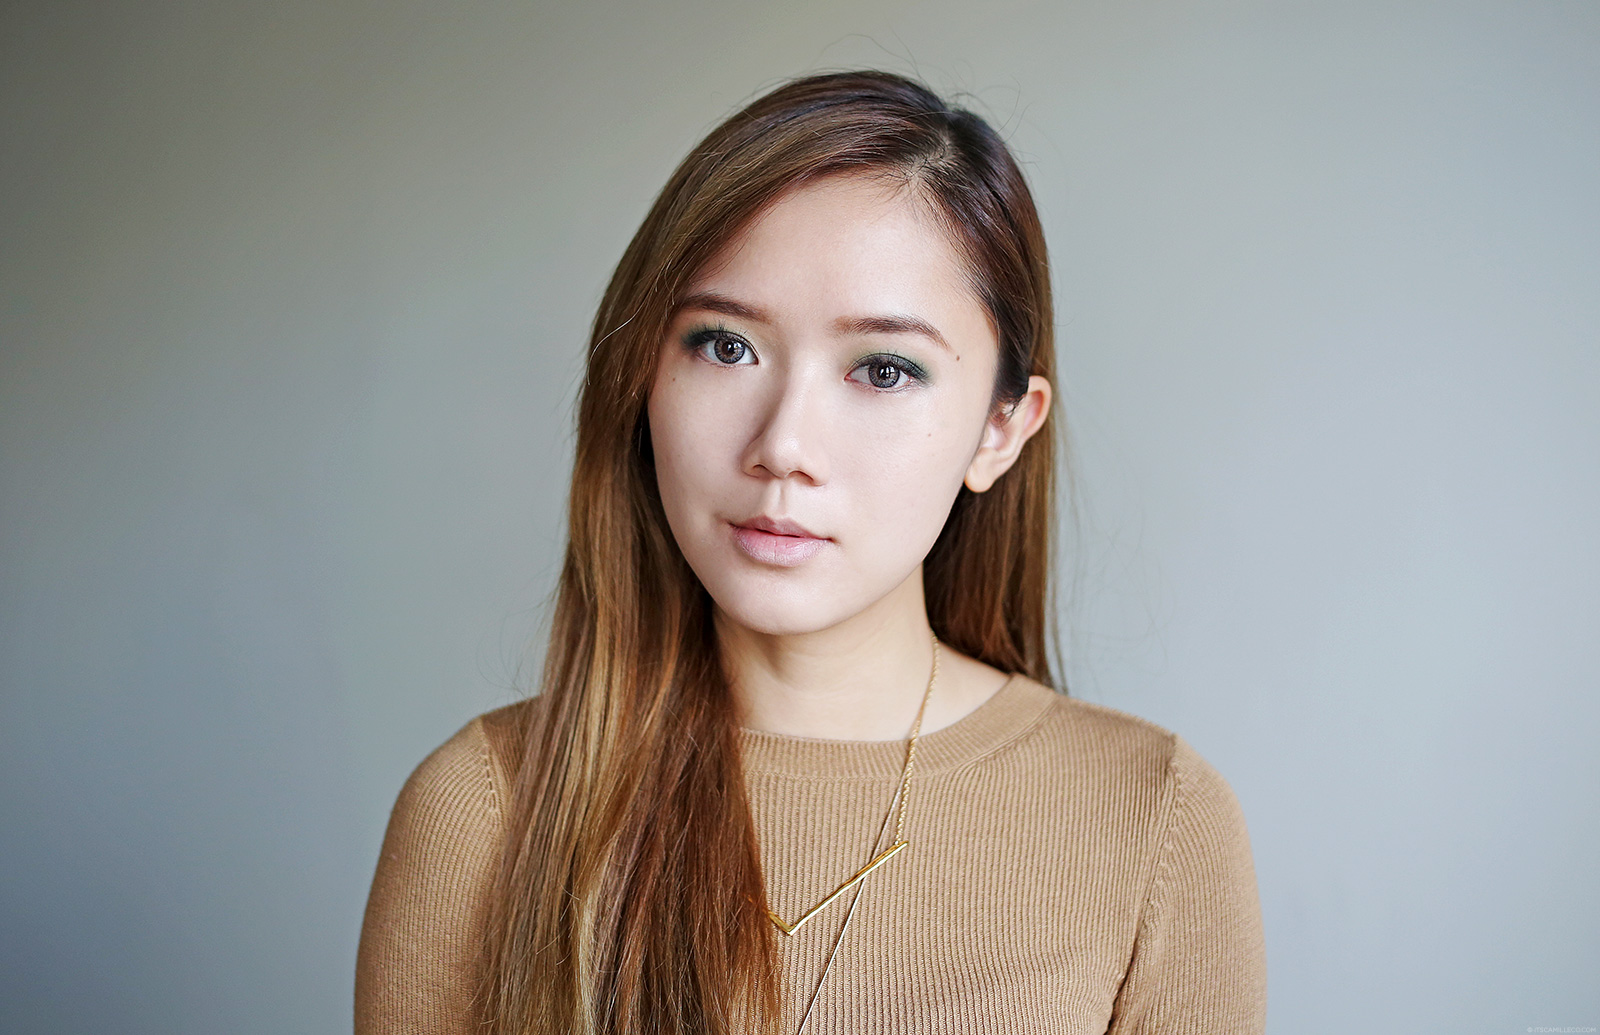
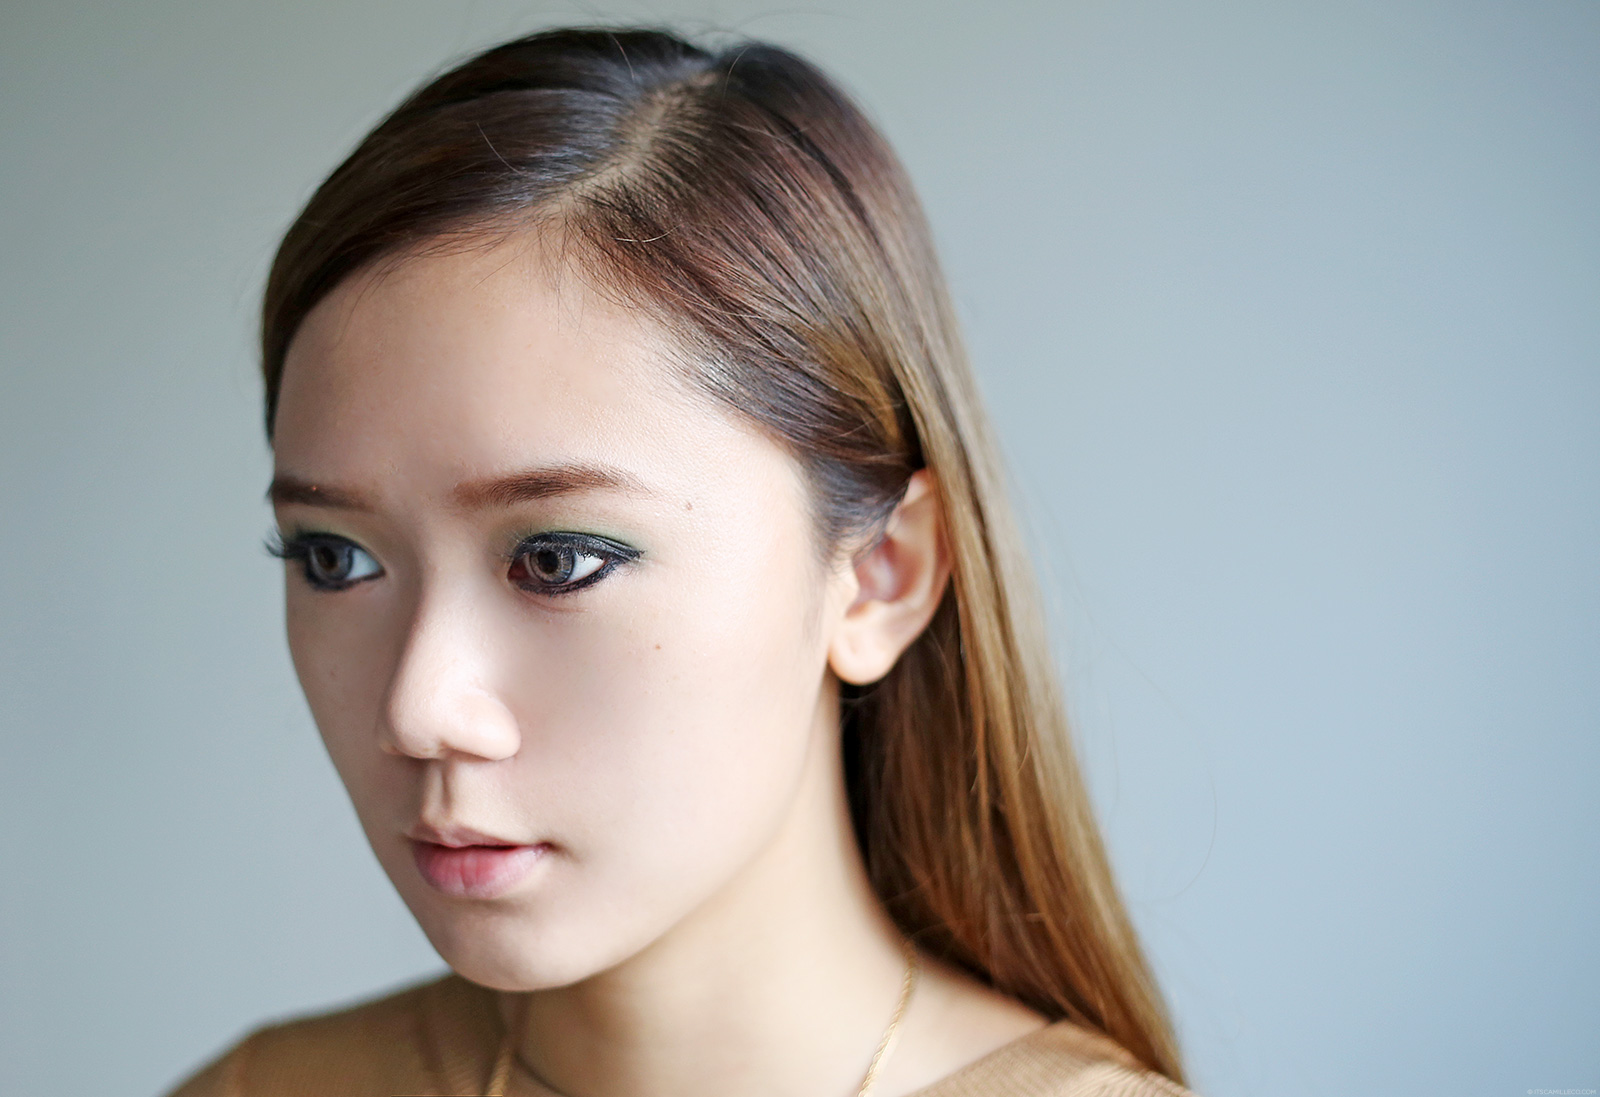
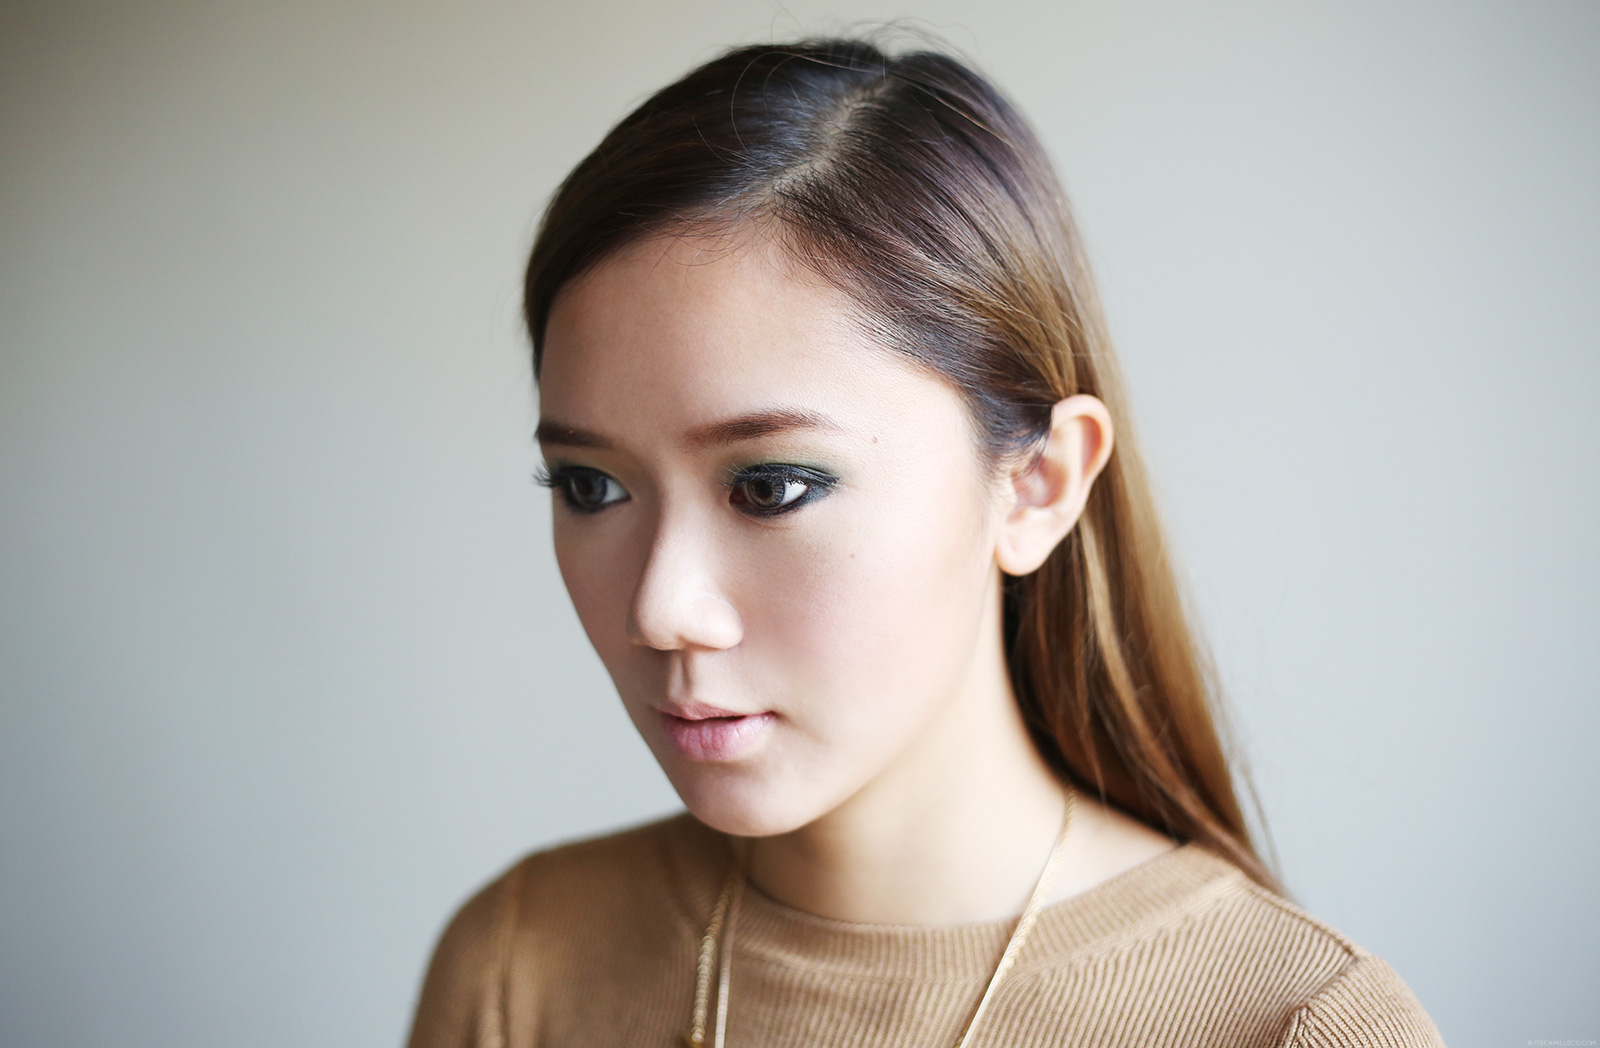
This is the makeup look I’ll be teaching you–a dramatic look perfect for night outs and parties. As you can see, I used green eye shadow instead of my usual neutral colors for this smokey look because they provide a nice contrast to dark eye colors like mine. Aside from this, I’ll be showing you how I achieved the highlights and contours on my face as well, so read on!
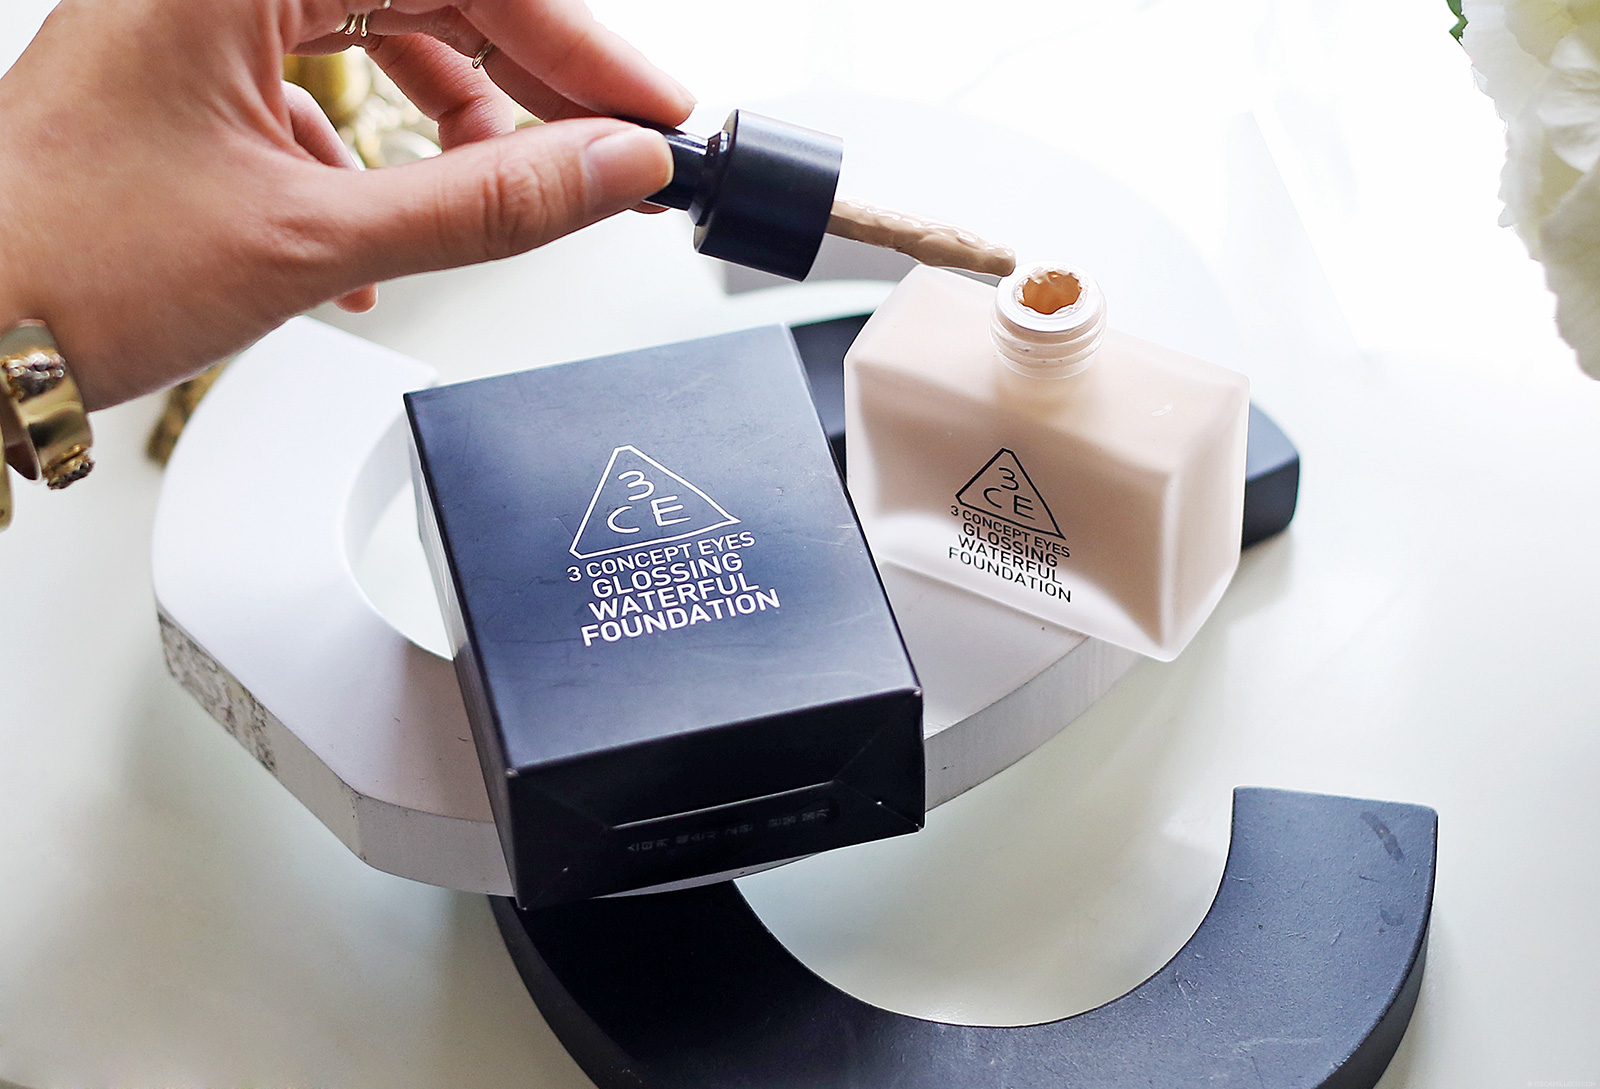
It’s no secret that I’m a fan of Korean brand Stylenanda so I’ve been meaning to try its makeup line, 3CE. The 3CE Glossing Waterful Foundation is the first product of theirs that I’ve tried and…so far, so good! It provides good coverage without feeling heavy at all.
This is how the 3CE Glossing Waterful Foundation looks on my skin. It’s easy to apply and has a silky smooth finish. You don’t really need to conceal much after this but if you want, feel free to apply concealer under your eyes, around your lips and on the sides of your nose.
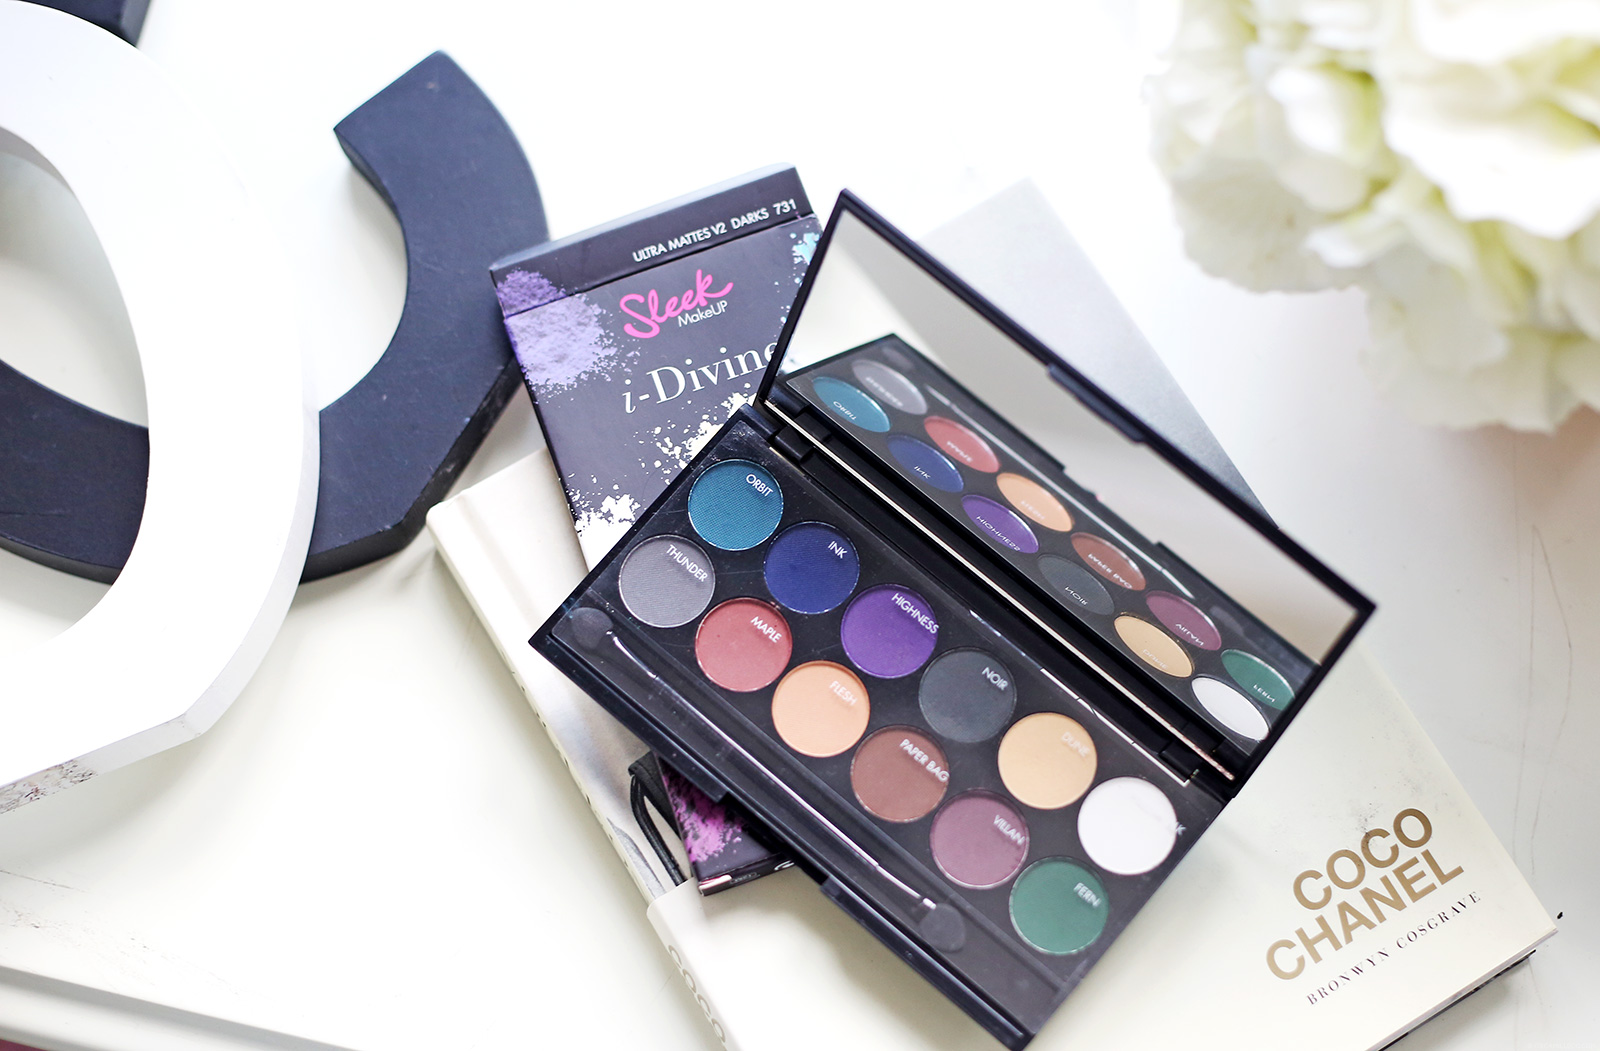
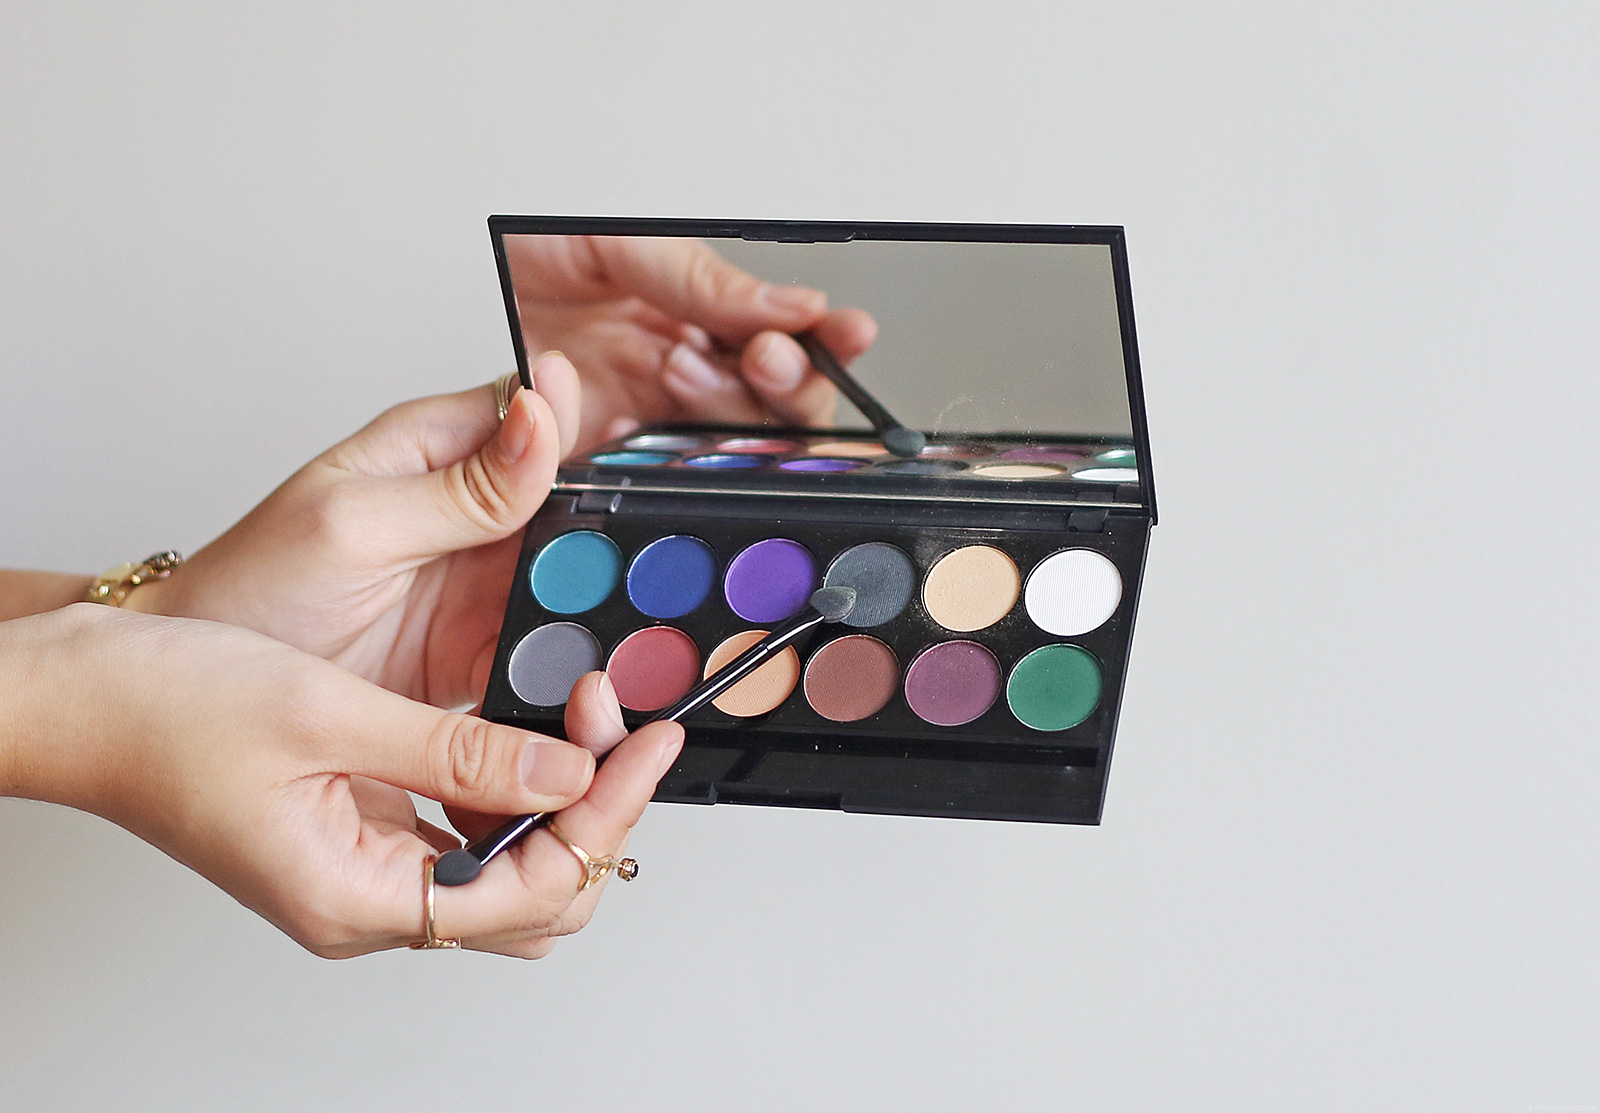
Tip: When choosing an eye shadow palette, choose one that has a variety of colors. Make sure it has neutral colors that you can use for casual days and bolder ones that you can use for special occasions like Sleek MakeUp’s i-Divine Ultra Mattes V2 Dark Palette. This way, you can play around with different looks without having to bring so many makeup with you when you travel.
So for today’s smokey look, start off by applying a light-colored base like Sleek Makeup iDivine palette’s “dune” eye shadow. Apply it all over your eyelids.
It has a yellow gold color so it can really brighten ones eyes.
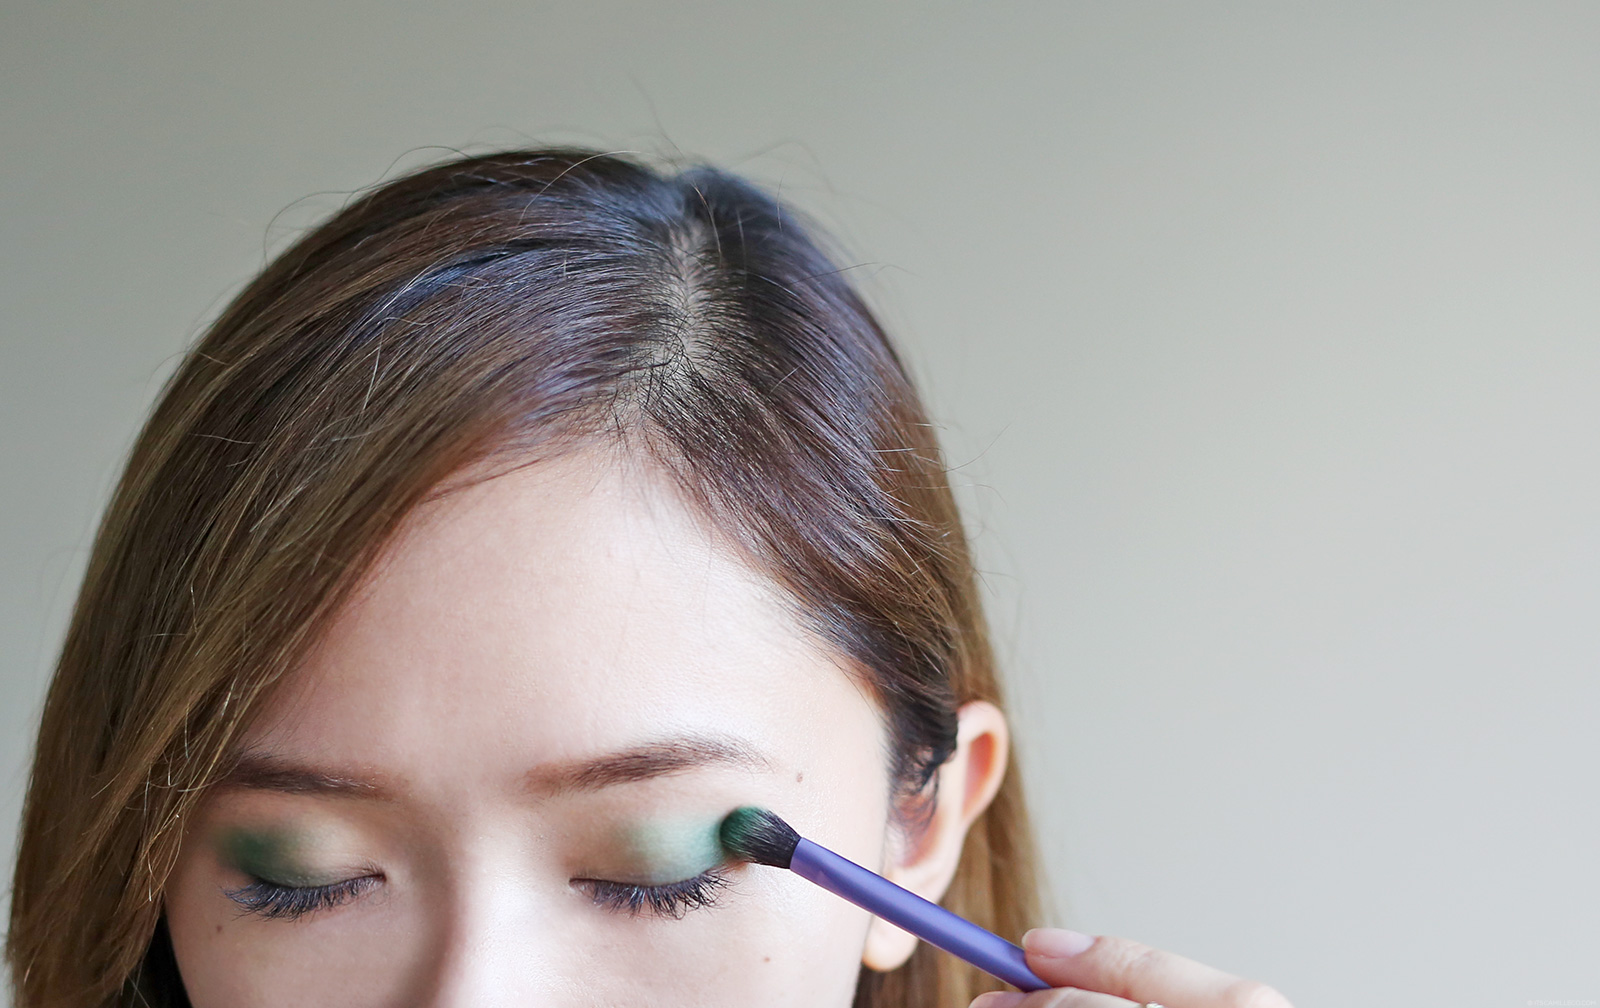
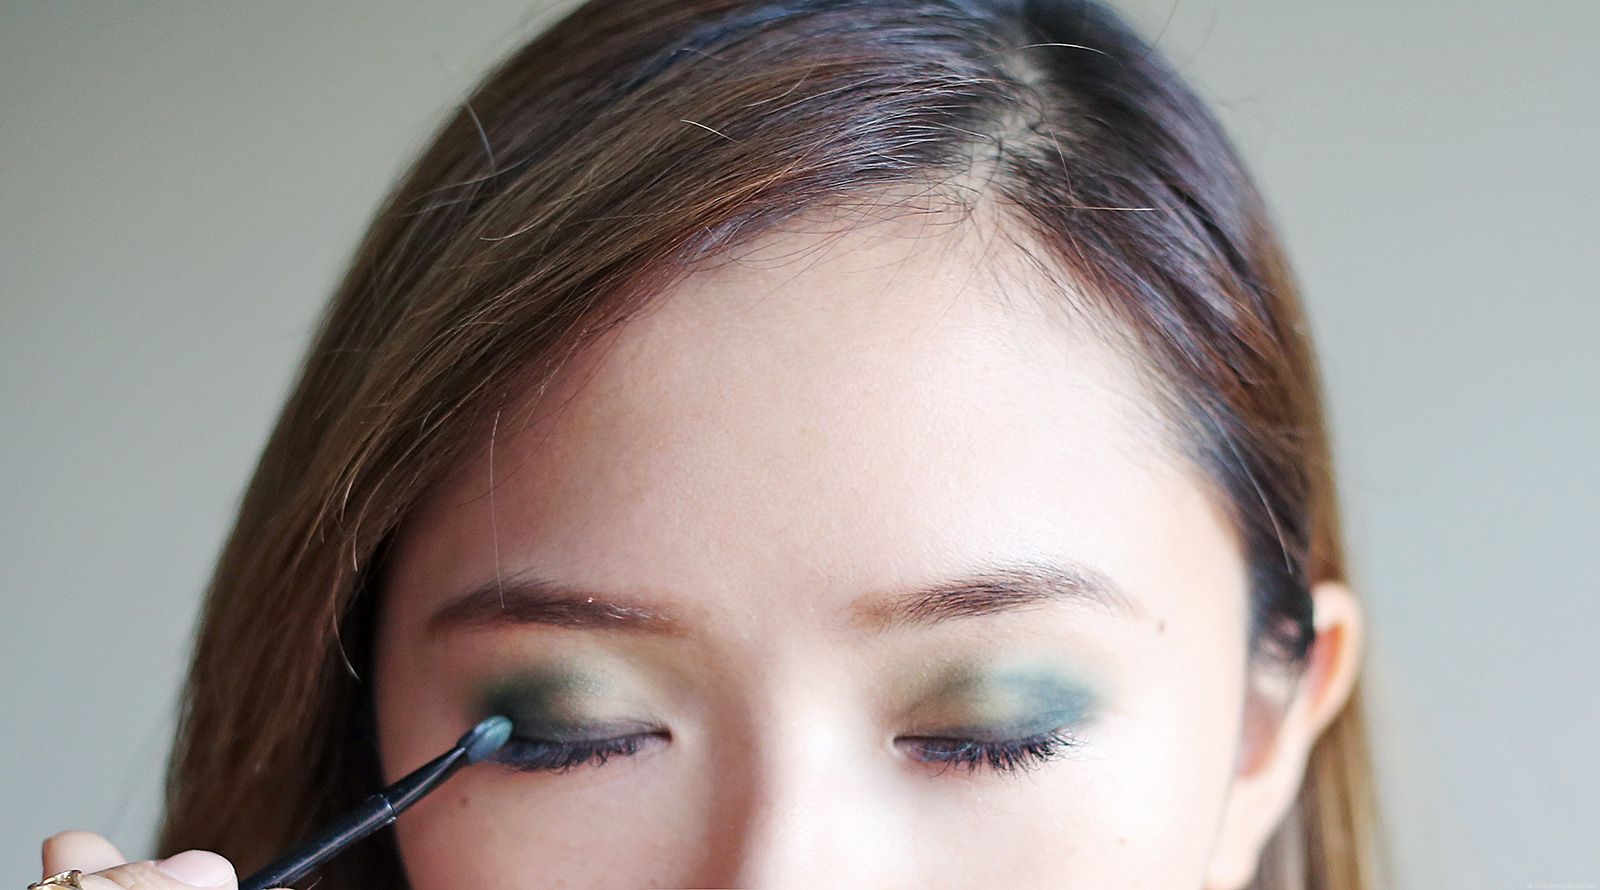
Next up, use the “fern” eye shadow (green) from the palette as your main eye shadow. You know the drill! Always start from the outer corner of your eyes and work your brush inward to create a gradient effect.
Unlike other matte eye shadows, Sleek MakeUp’s i-Divine Ultra Mattes are actually creamy and highly pigmented so you can really see the pop of green.
Now, here comes the drama. Apply the “noir” eye shadow (black) to darken certain areas of your eyes.
Draw a line on top of your upper lash line and brush more of the eye shadow on the outer corner of your eyes like so.
See, it’s already looking more dramatic.

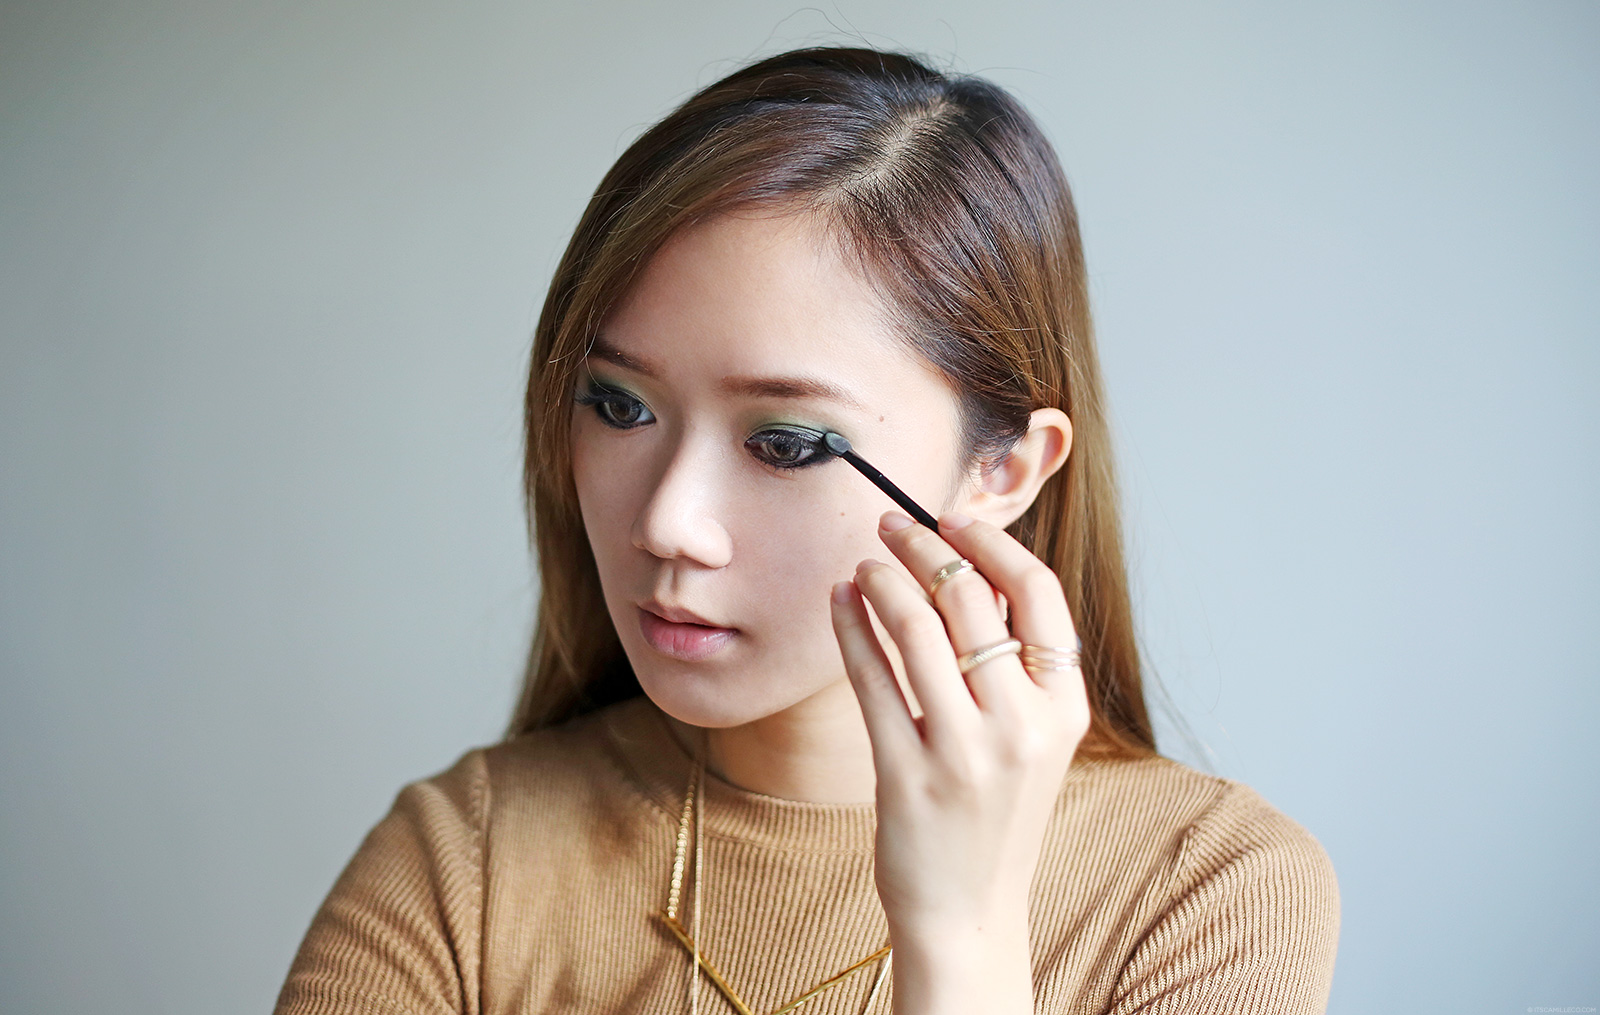
Fierce eye makeup works best with jet black eyeliner. This one is from Urban Decay. Draw a line over your upper and lower lash lines using your pencil eyeliner.
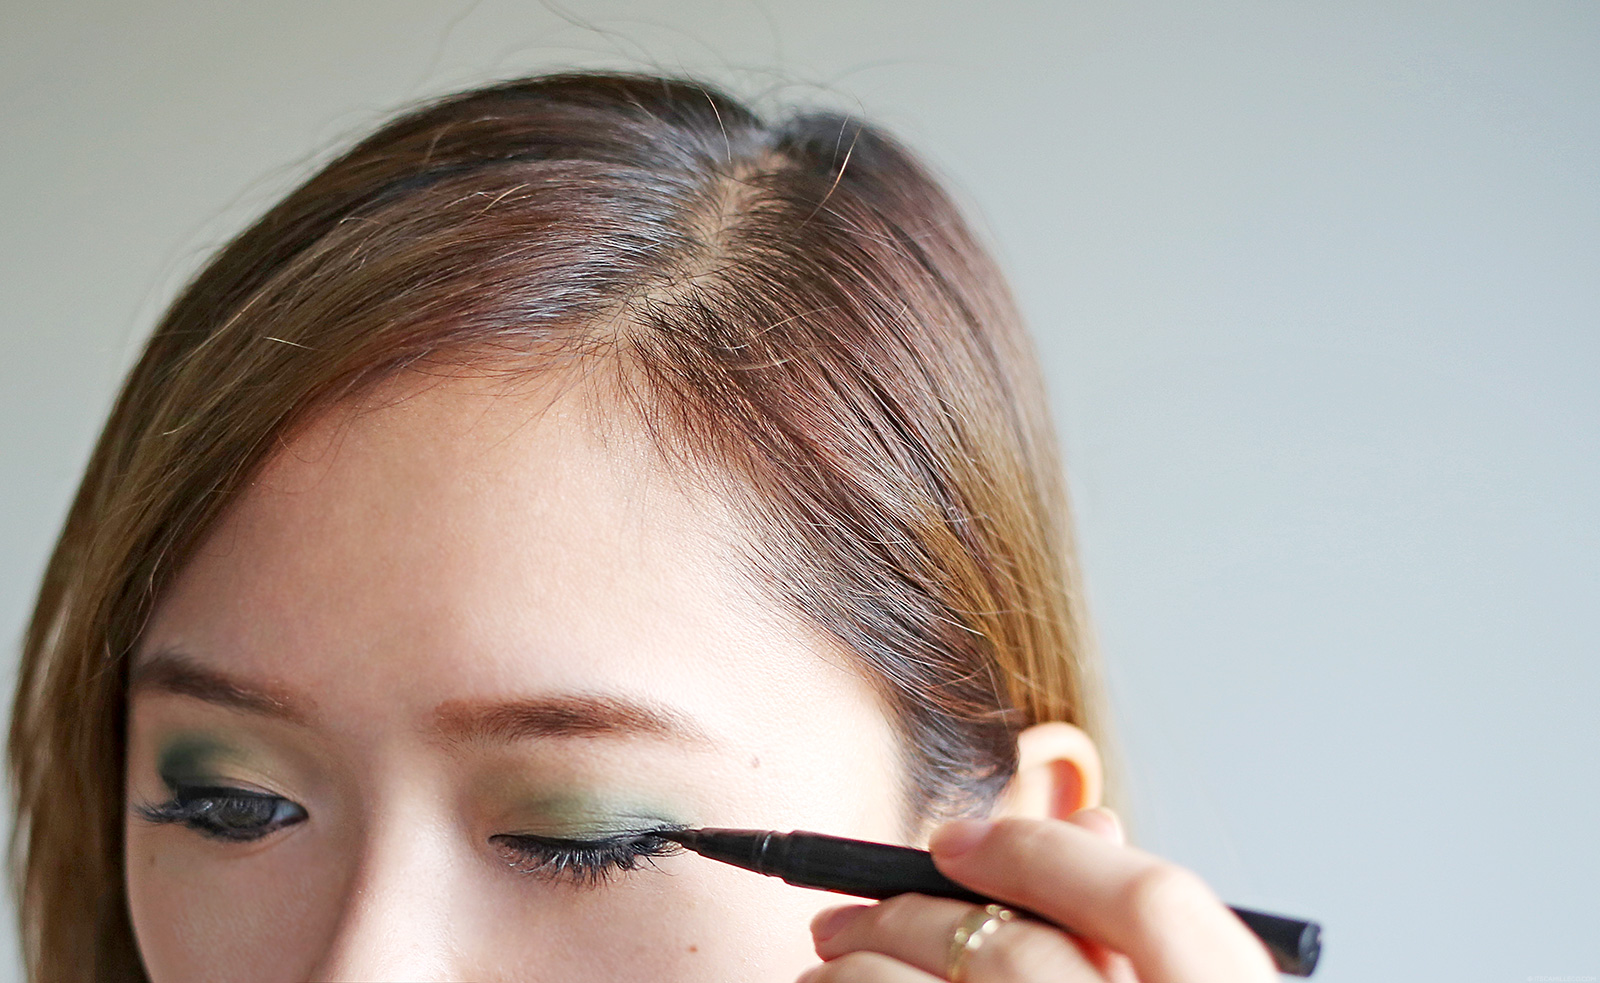
Then use a liquid or gel liner to create a winged eye. I like drawing mine thinner on the inner part of my eyes and then gradually build it up as I reach the outer corner of eyes. Extend it further for a bolder look.

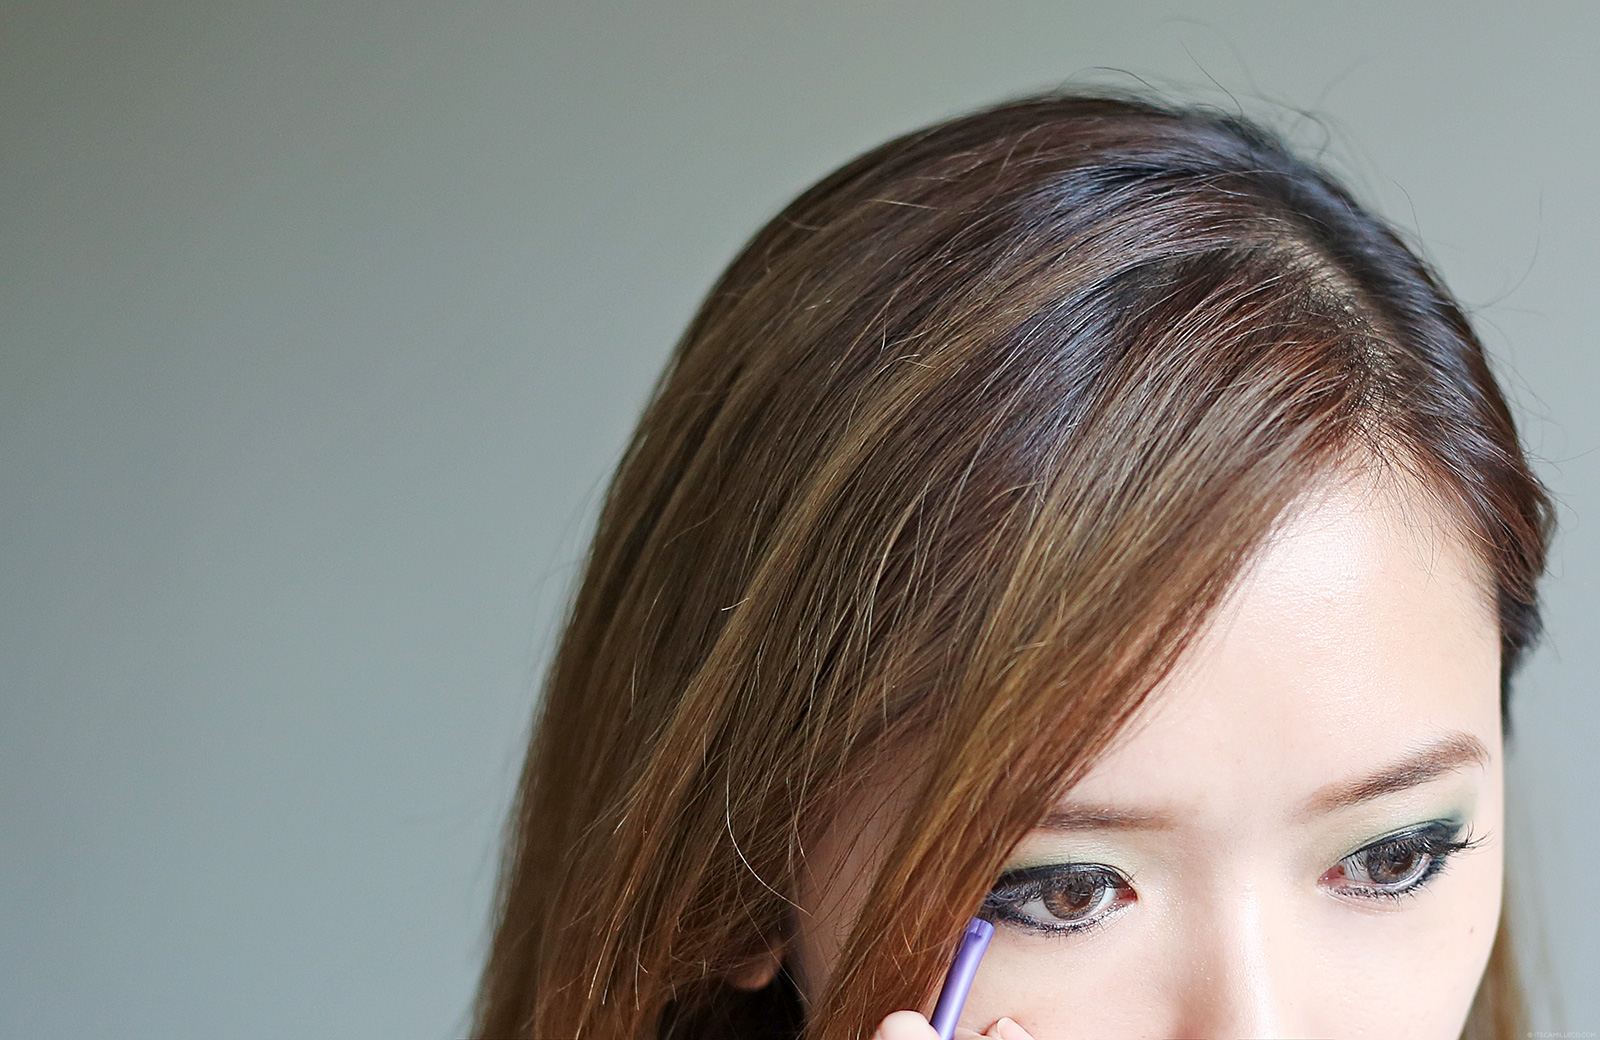
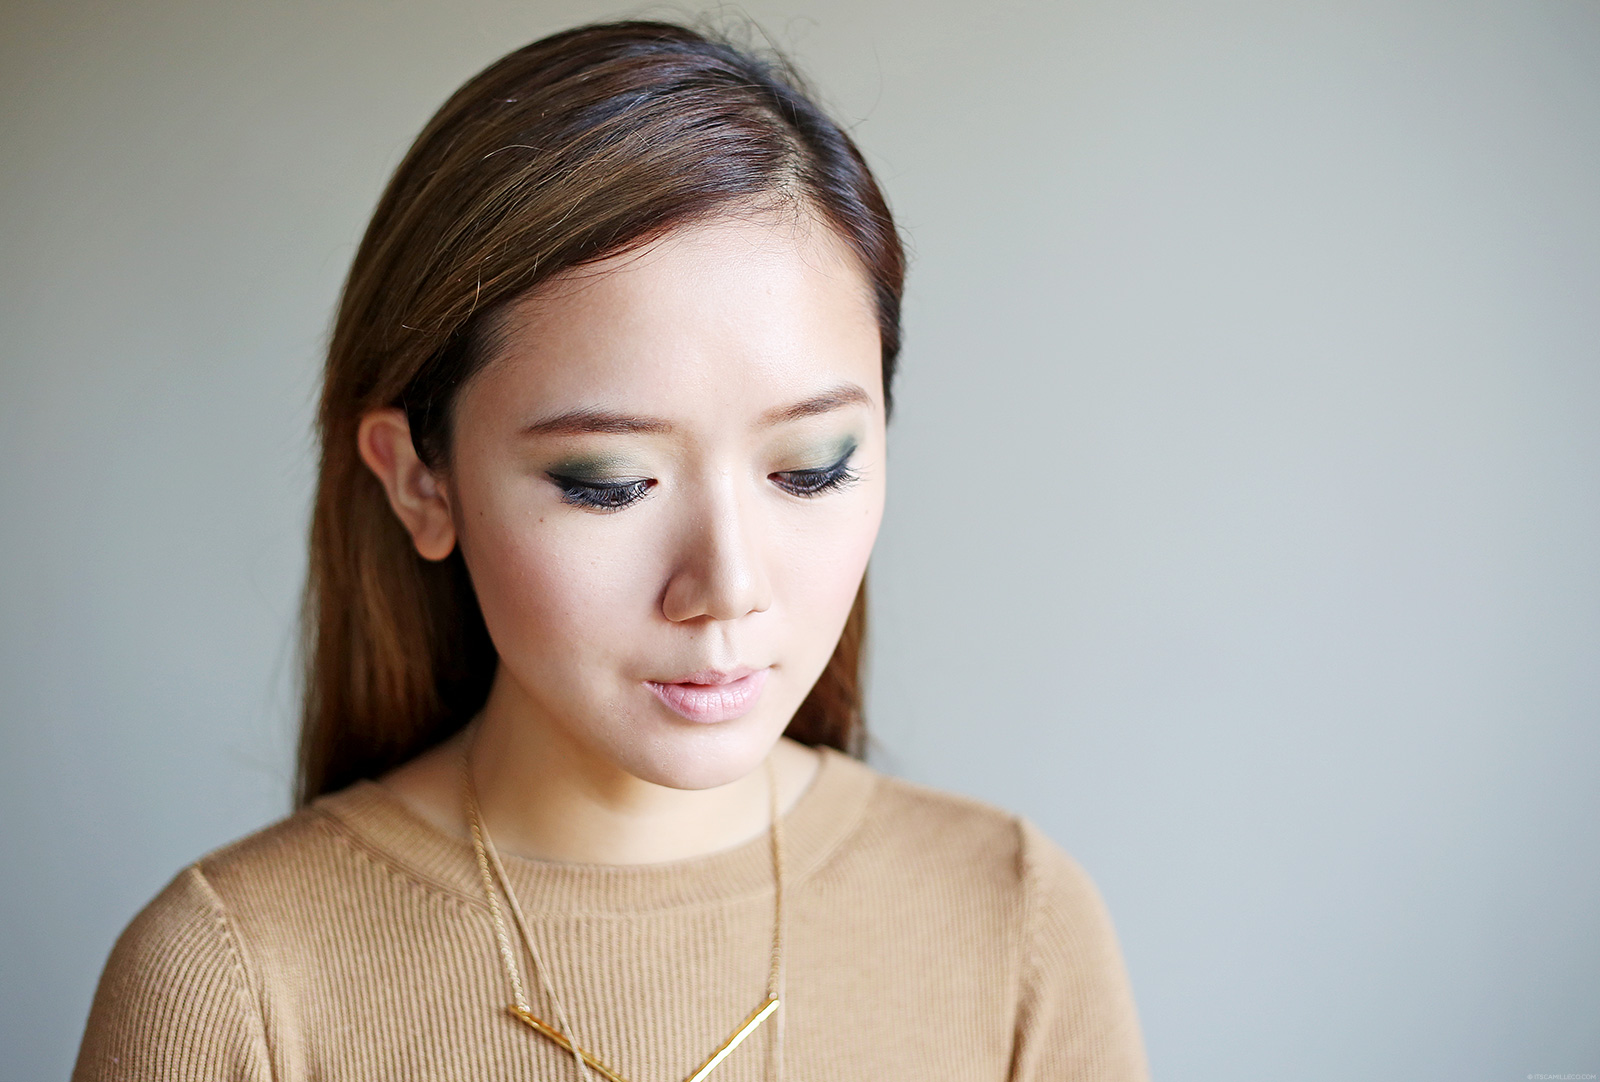
This is how your eye makeup should look. Once again, since I have lash extensions by Nail Spa Lounge By Ellabell on, I didn’t put any mascara or falsies on, but do feel free to do so. Long and thick lashes are essential to this look!
Now that I’ve got my thick liner on, you can’t quite see much of the darker eye shadow when my eyes are open.
To solve this dilemma, apply “noir”eye shadow on the folds or crease of your eyes once again, but this time, with your eyes open.
Then brush the “fern” eye shadow with a bit of “noir” on your lower lash line to give a smudged eye liner look.
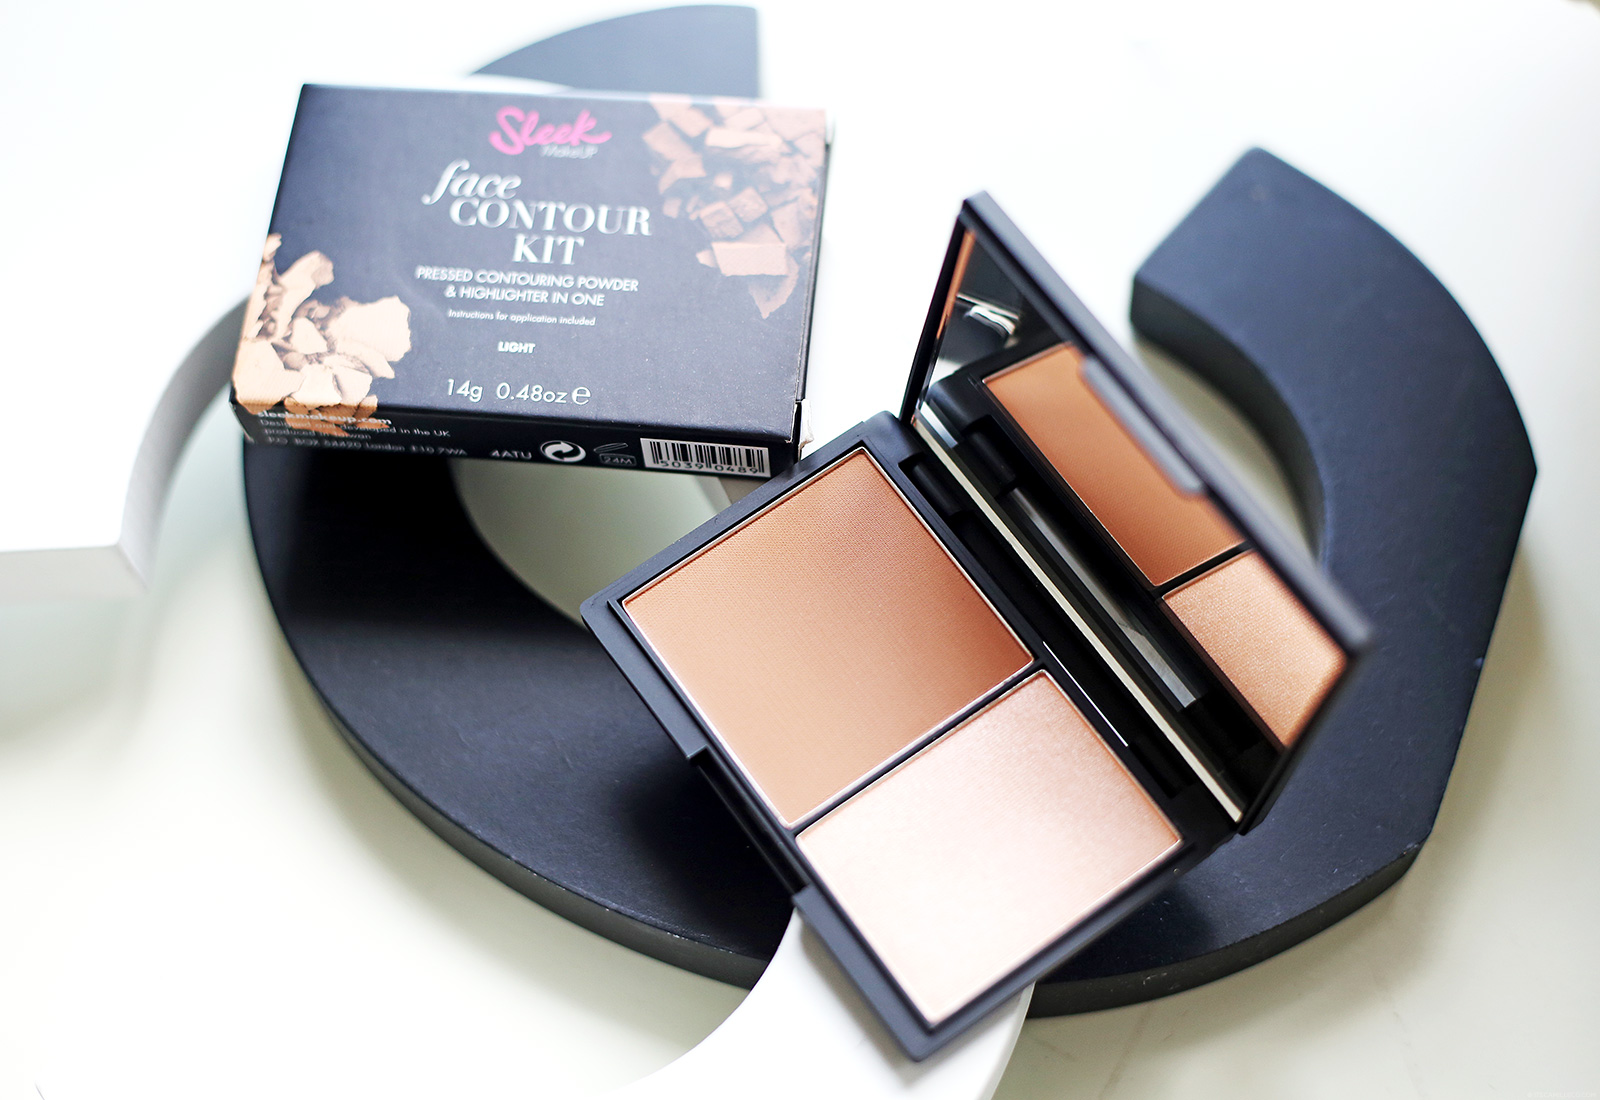
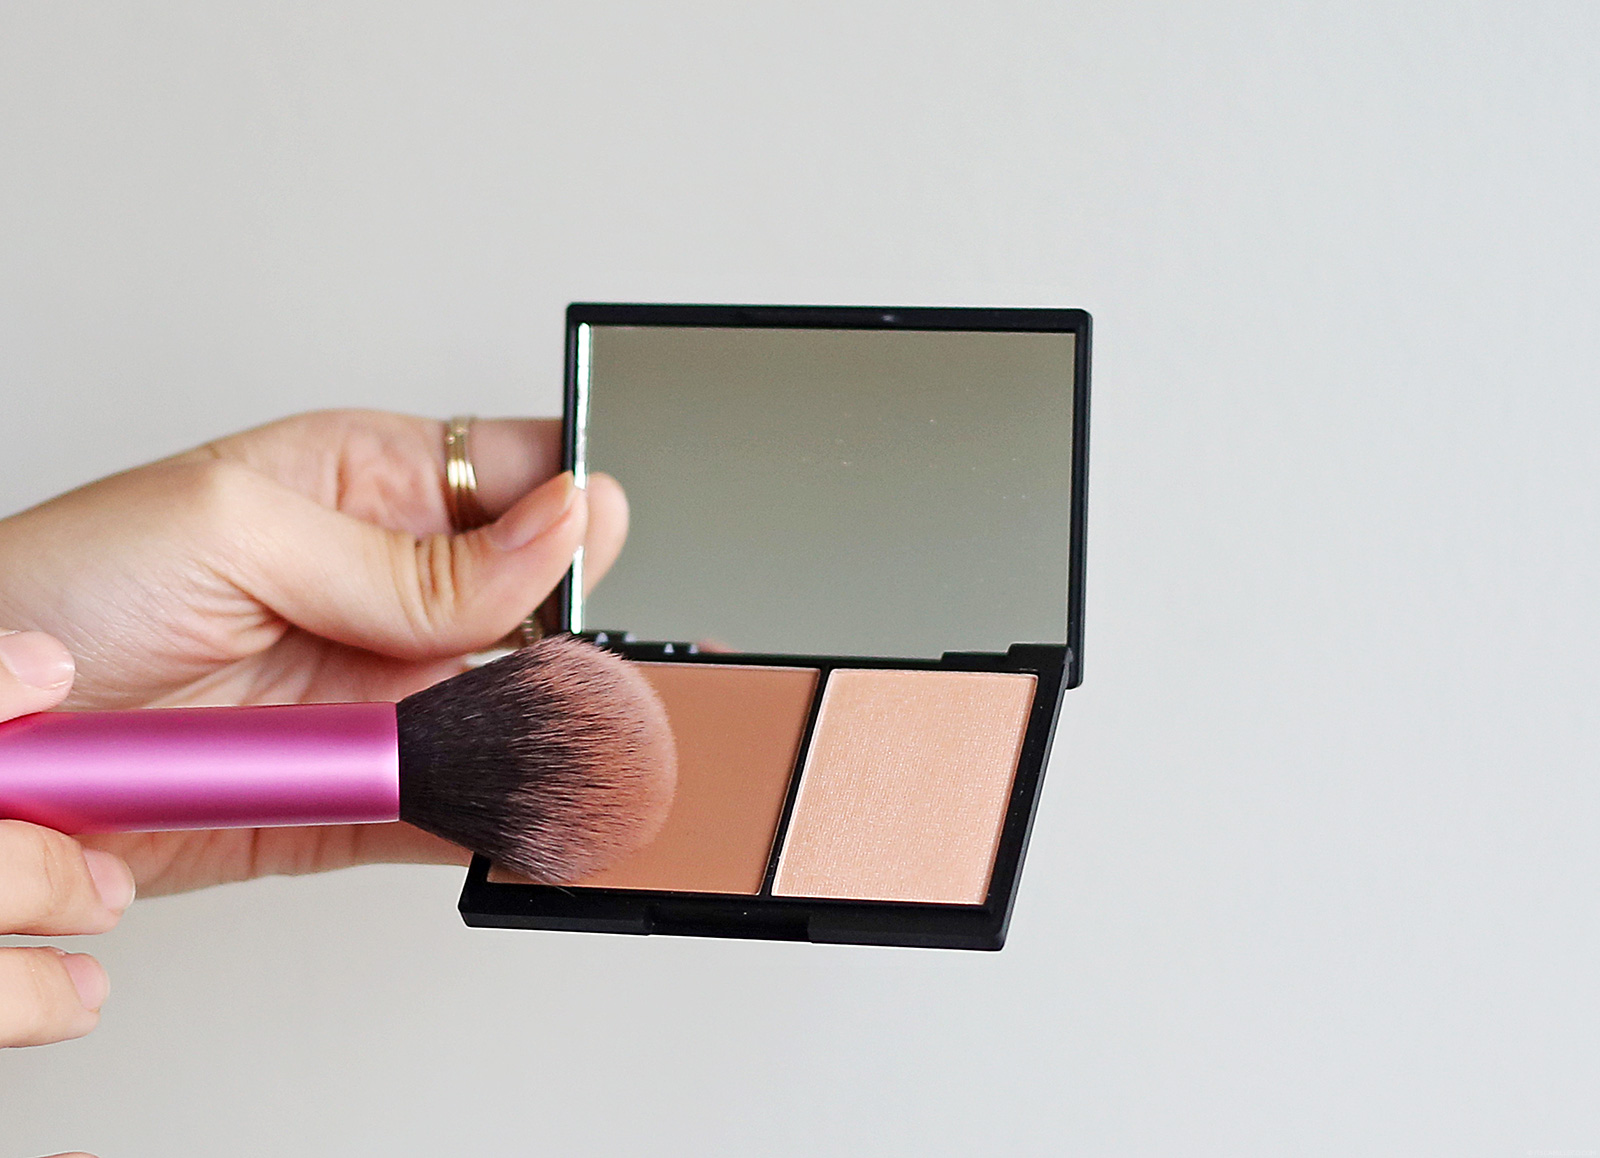
Now on to my favorite part, highlights and contours. I’ve been using Makeup Forever’s Sculpting Kit for the longest time but it looks like I’ll be replacing it with Sleek MakeUp’s Face Contour Kit from now on. Its contour powder is in a nice brown shade that isn’t too dark nor too orange, and its powder for highlighting has some shimmer to it that creates a warm dewy glow.
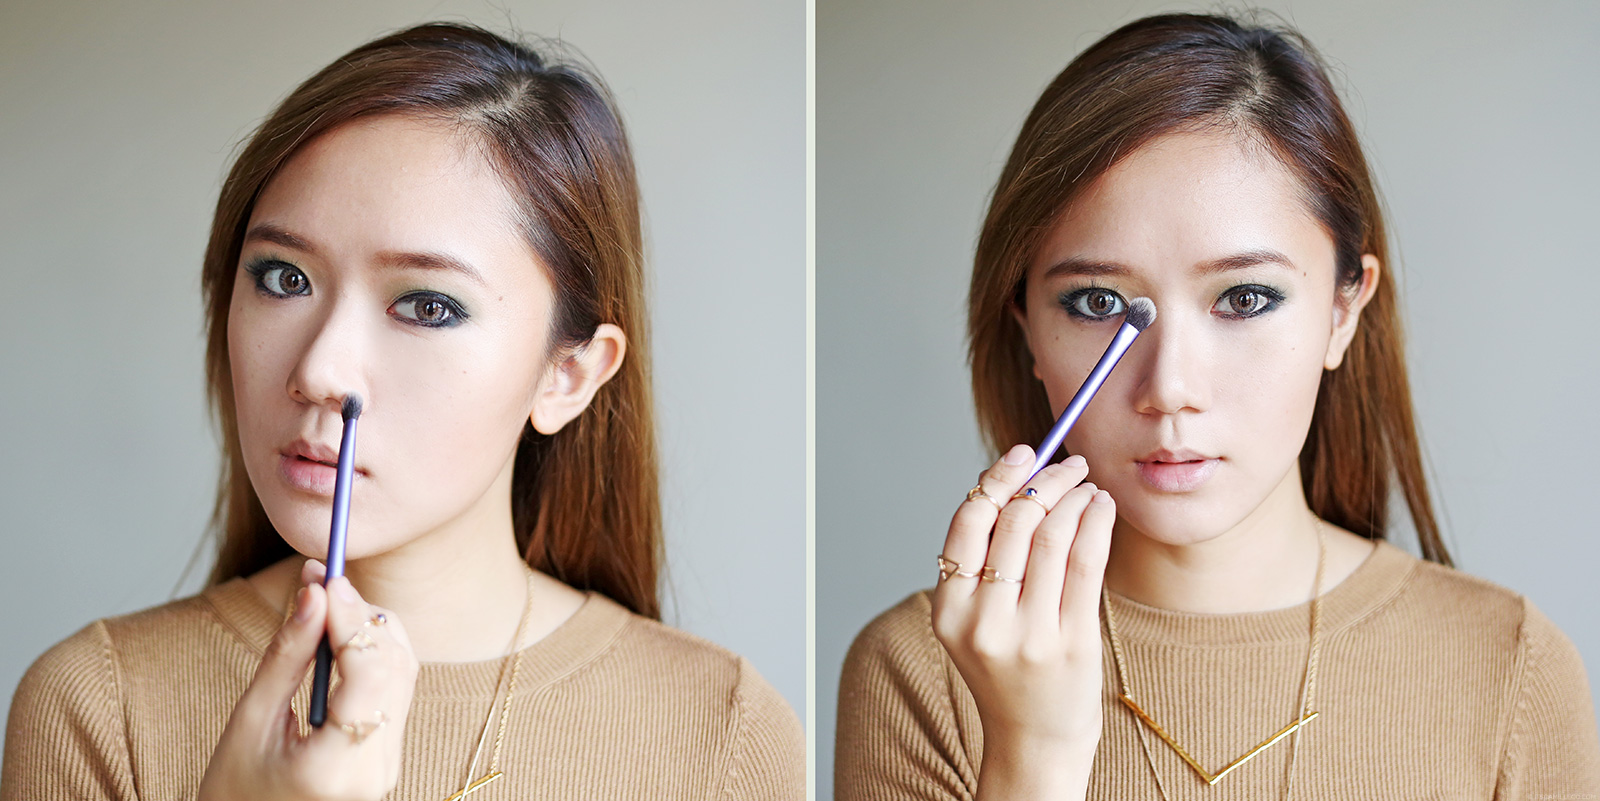
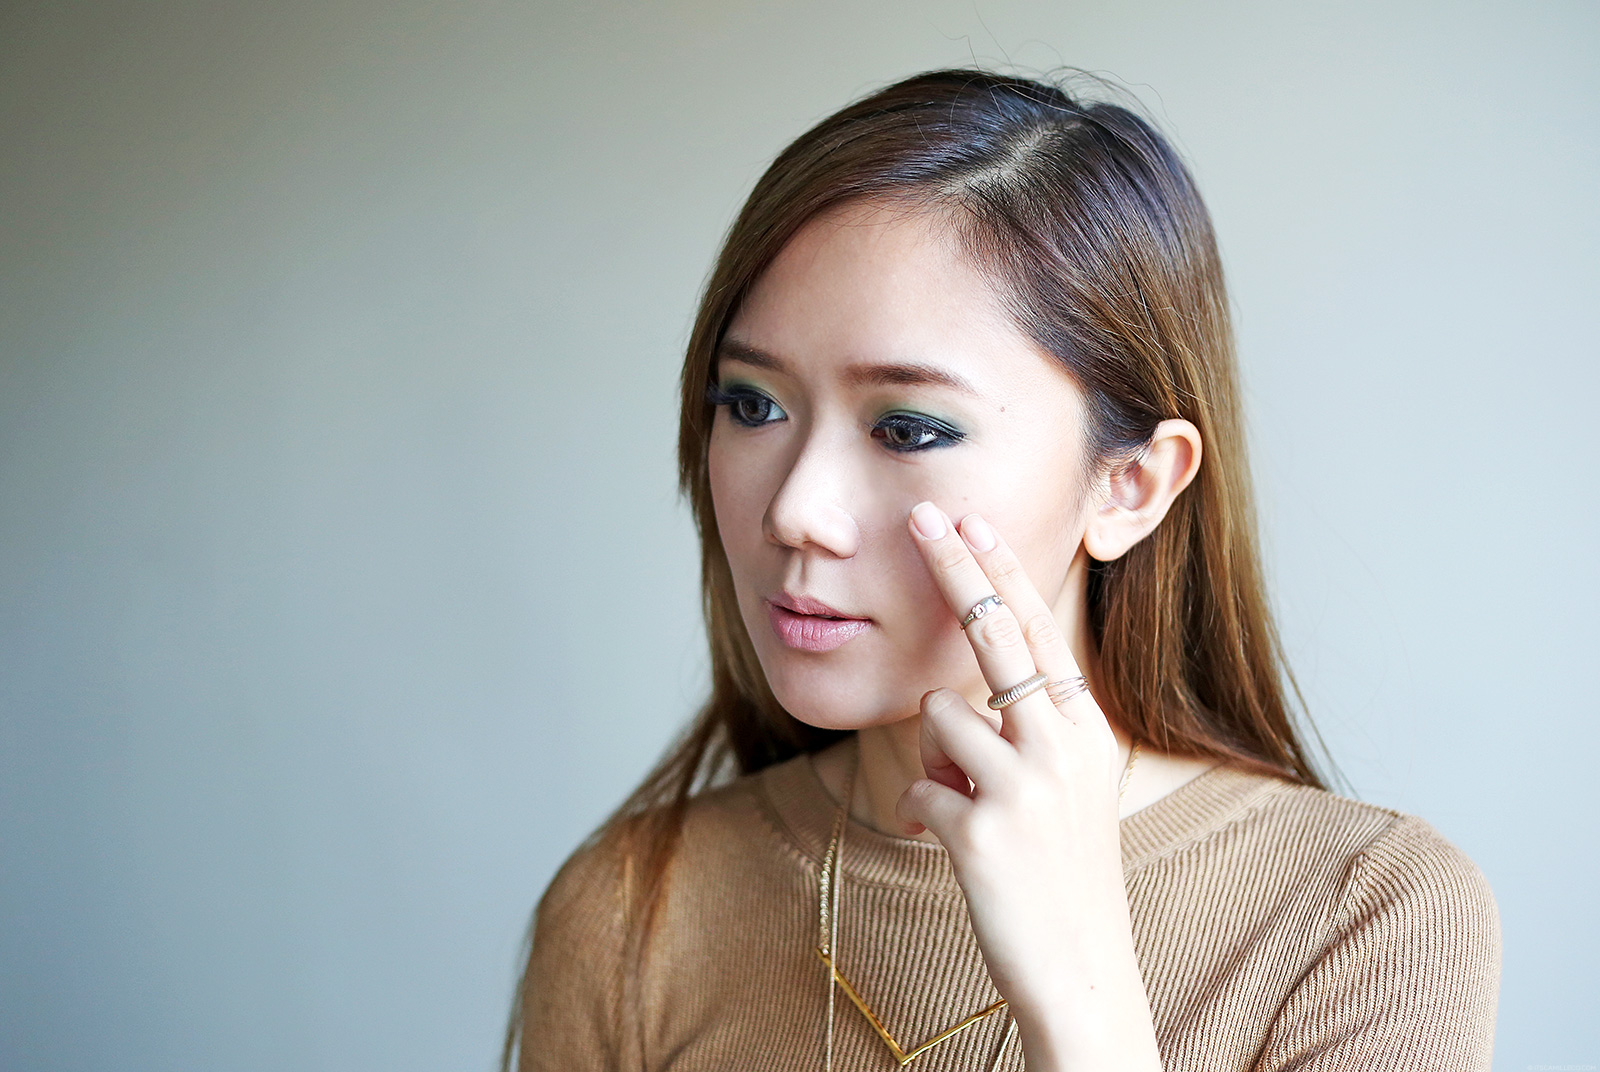
Apply the darker shade on areas you want to contour and create shadows on. Start from the point where your eyebrows begin, down to the sides of the bridge of your nose to the sides of your nose (or alae).
Using a thicker brush, apply the darker shade once again to contour your cheeks and jaw line.
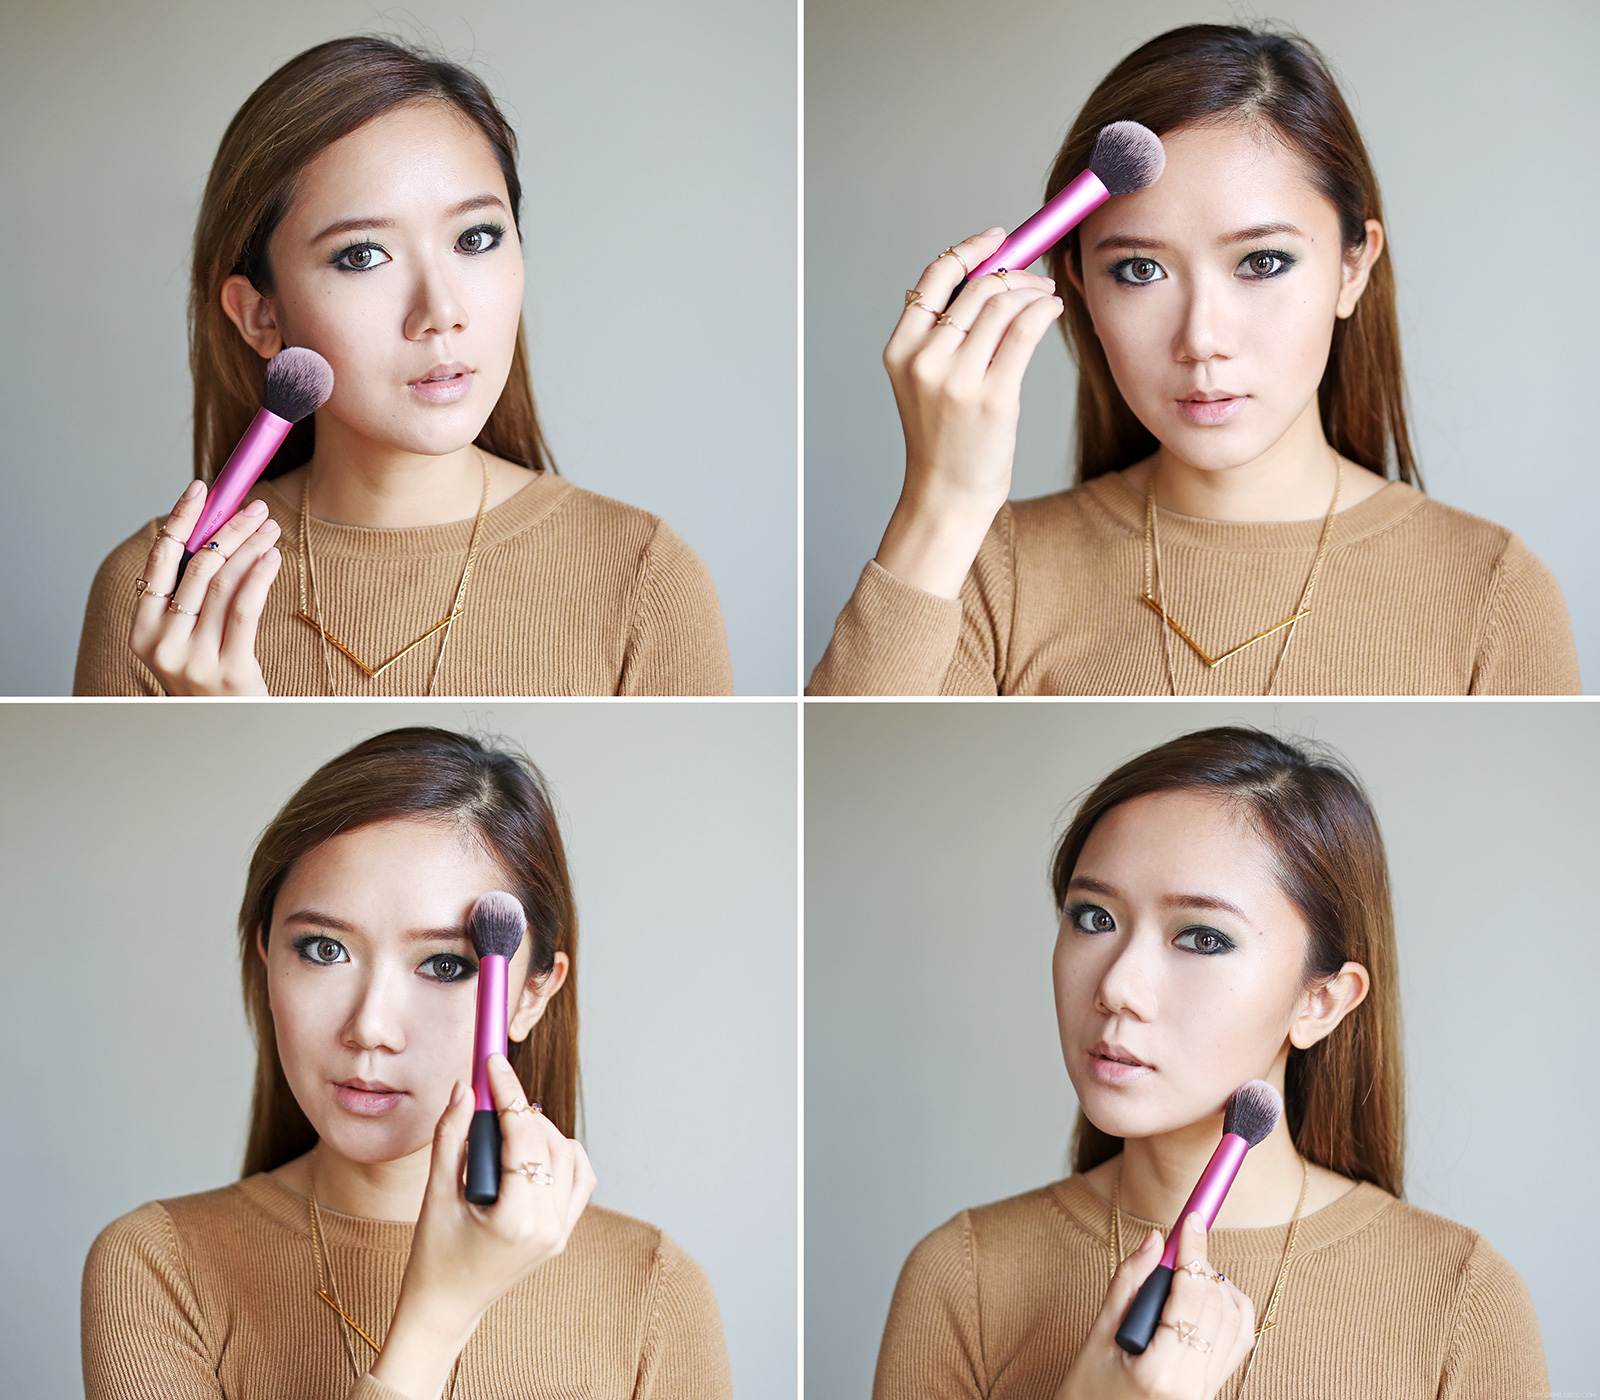
I’ve talked about how to create contours and highlights on your face in detail before here, but here’s a quick recap. Brush over your hairline and the sides of your face down to your jawline. Create a number 3 from the top of your eyebrows to the area below your cheek bones (or the hollow part of your cheeks when you suck your cheeks in) and down to your jawline once again.
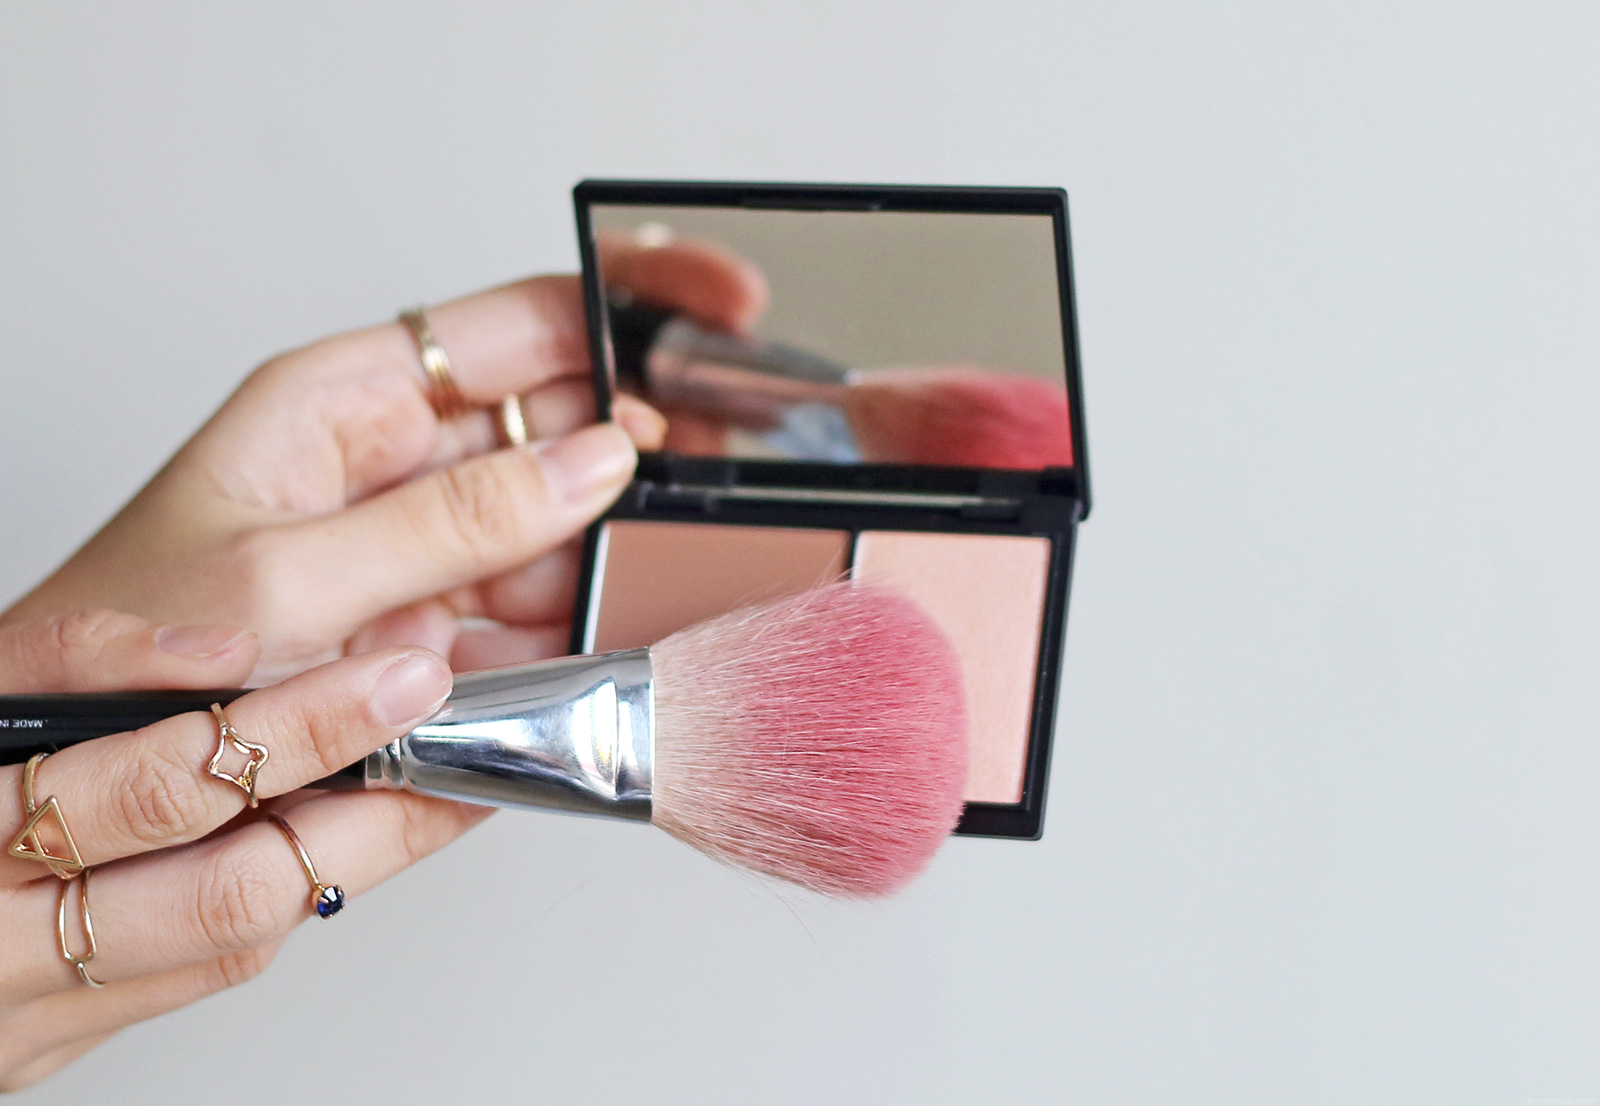
Dab your brush on to the shimmery powder and create highlights on your face.
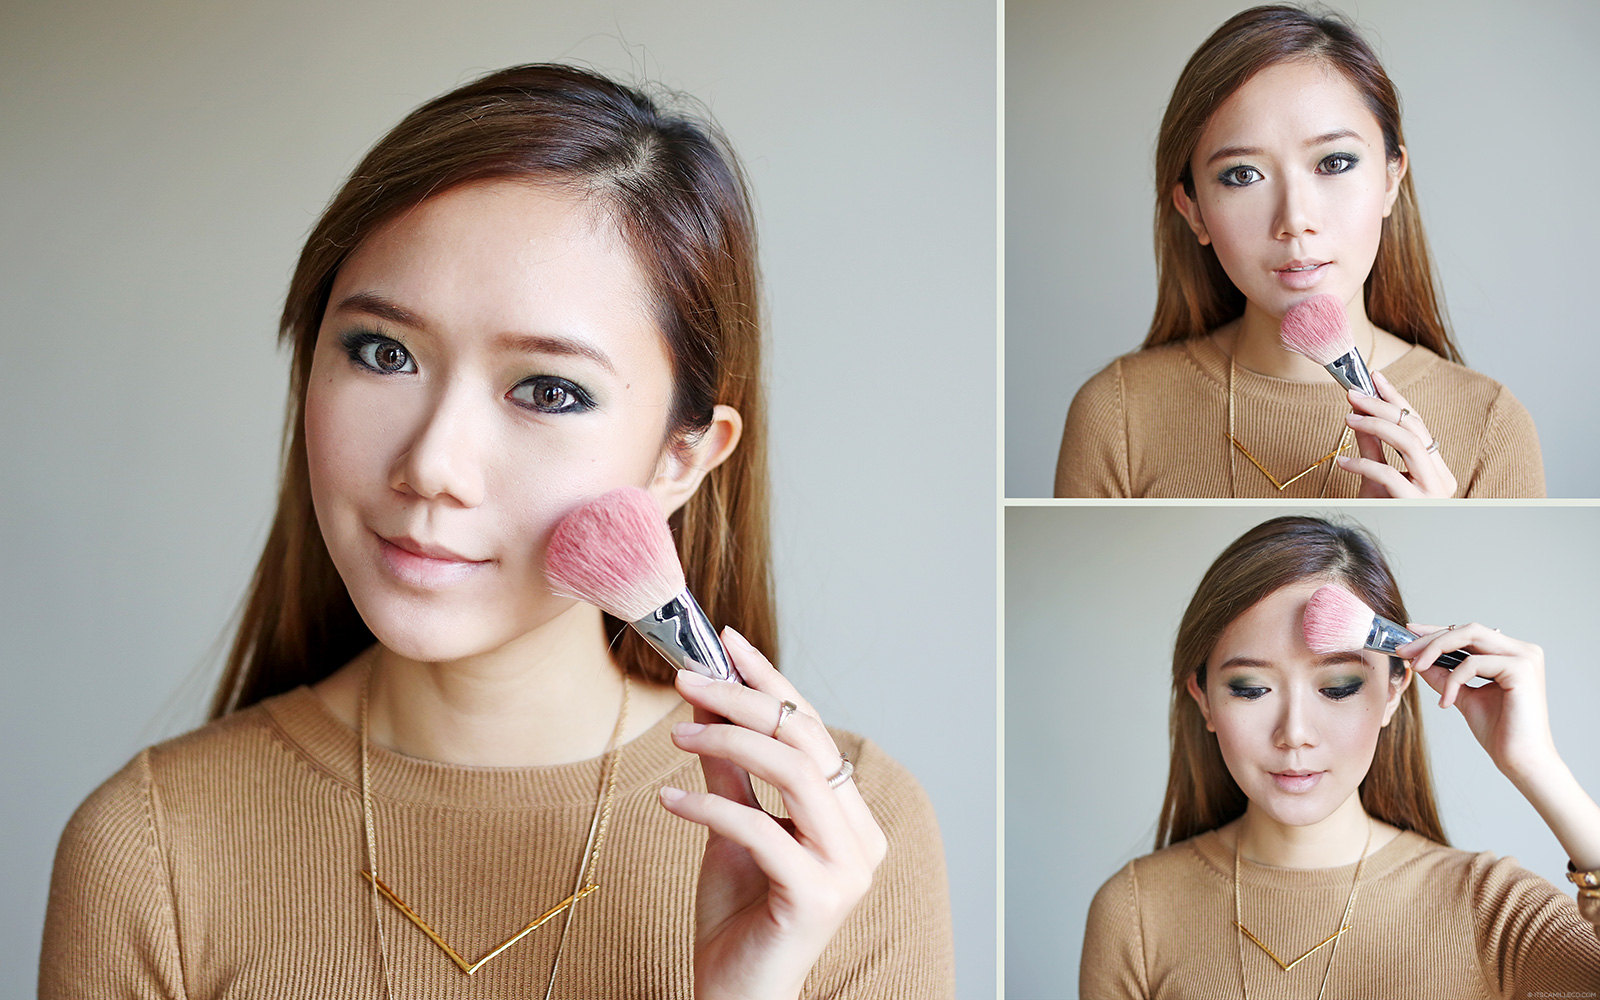
Brush it over the apples of your cheeks and a bit on your chin and forehead. As you can see, I already applied blush on the apples of my cheeks before I did this step. For your reference, the blush I used was Majolica Majorca’s Puff De Cheek in peach.
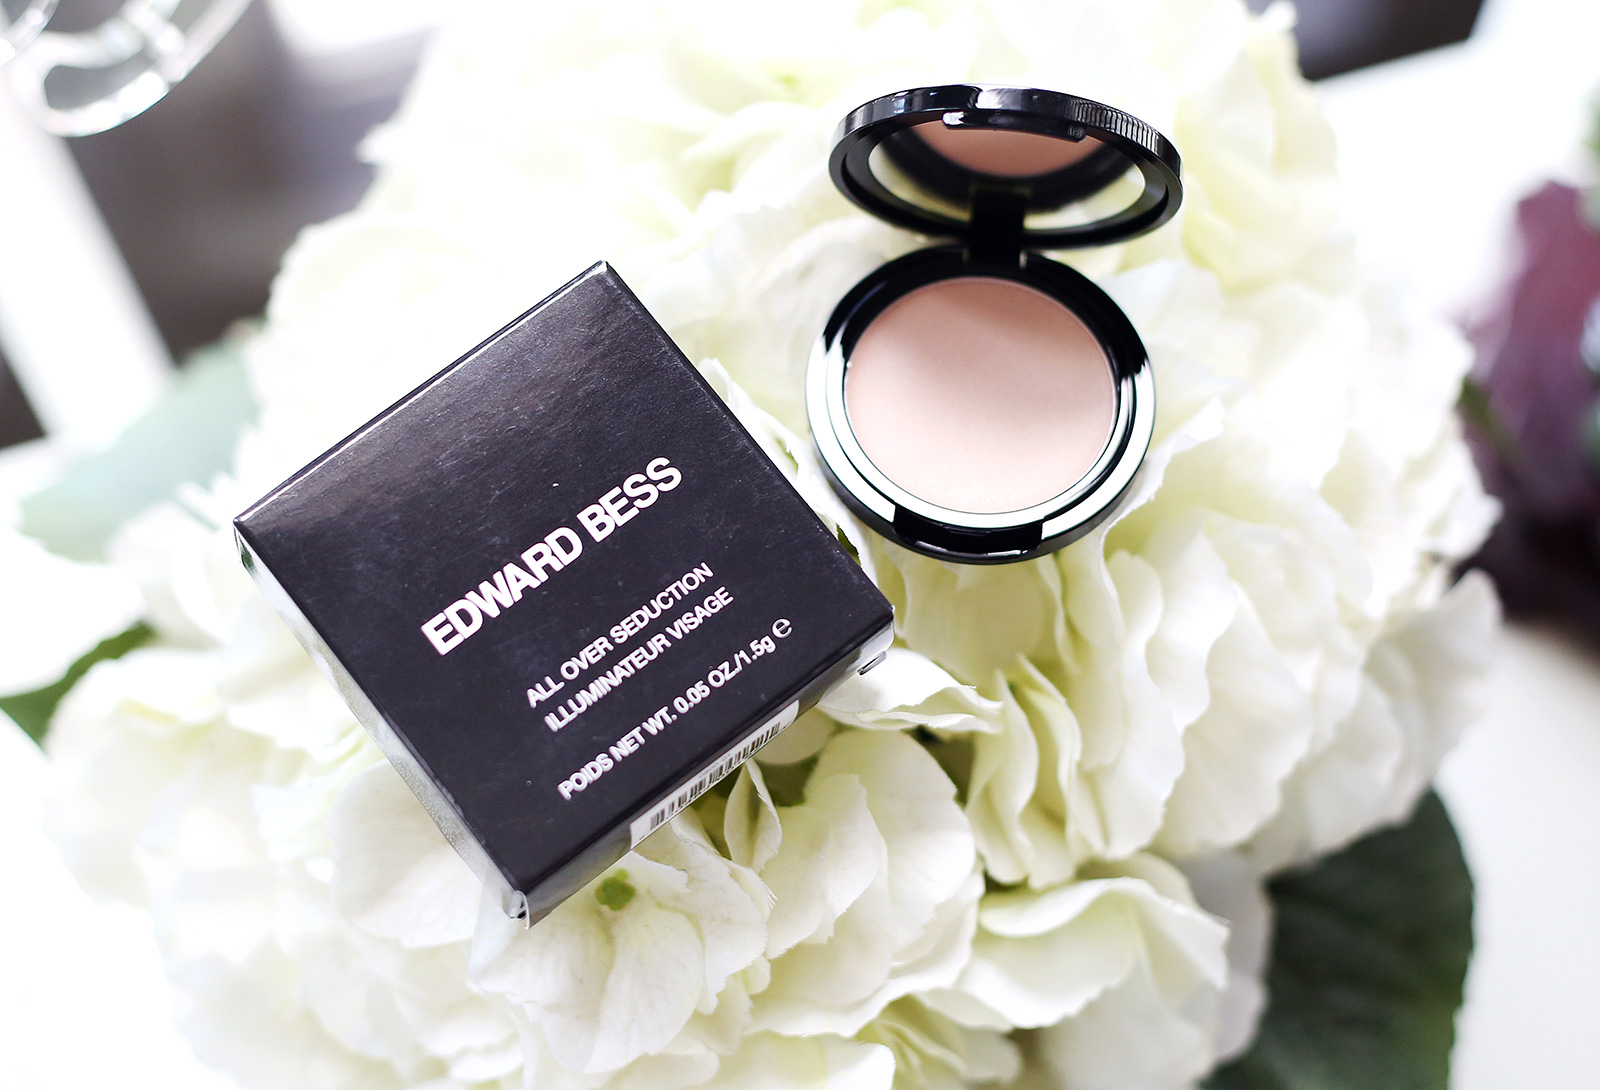
Finally, I used Edward Bess’ All Over Seduction Illuminateur Visage to make my makeup look fresh and dewy all over. My friends and I swear by this little product. It may seem unimportant but I assure you, it does wonders!
Just apply it over the apples of your cheeks and wherever else you want highlighted. It’ll give you that instant glow afterwards.
I like applying it below my brow bone as well.
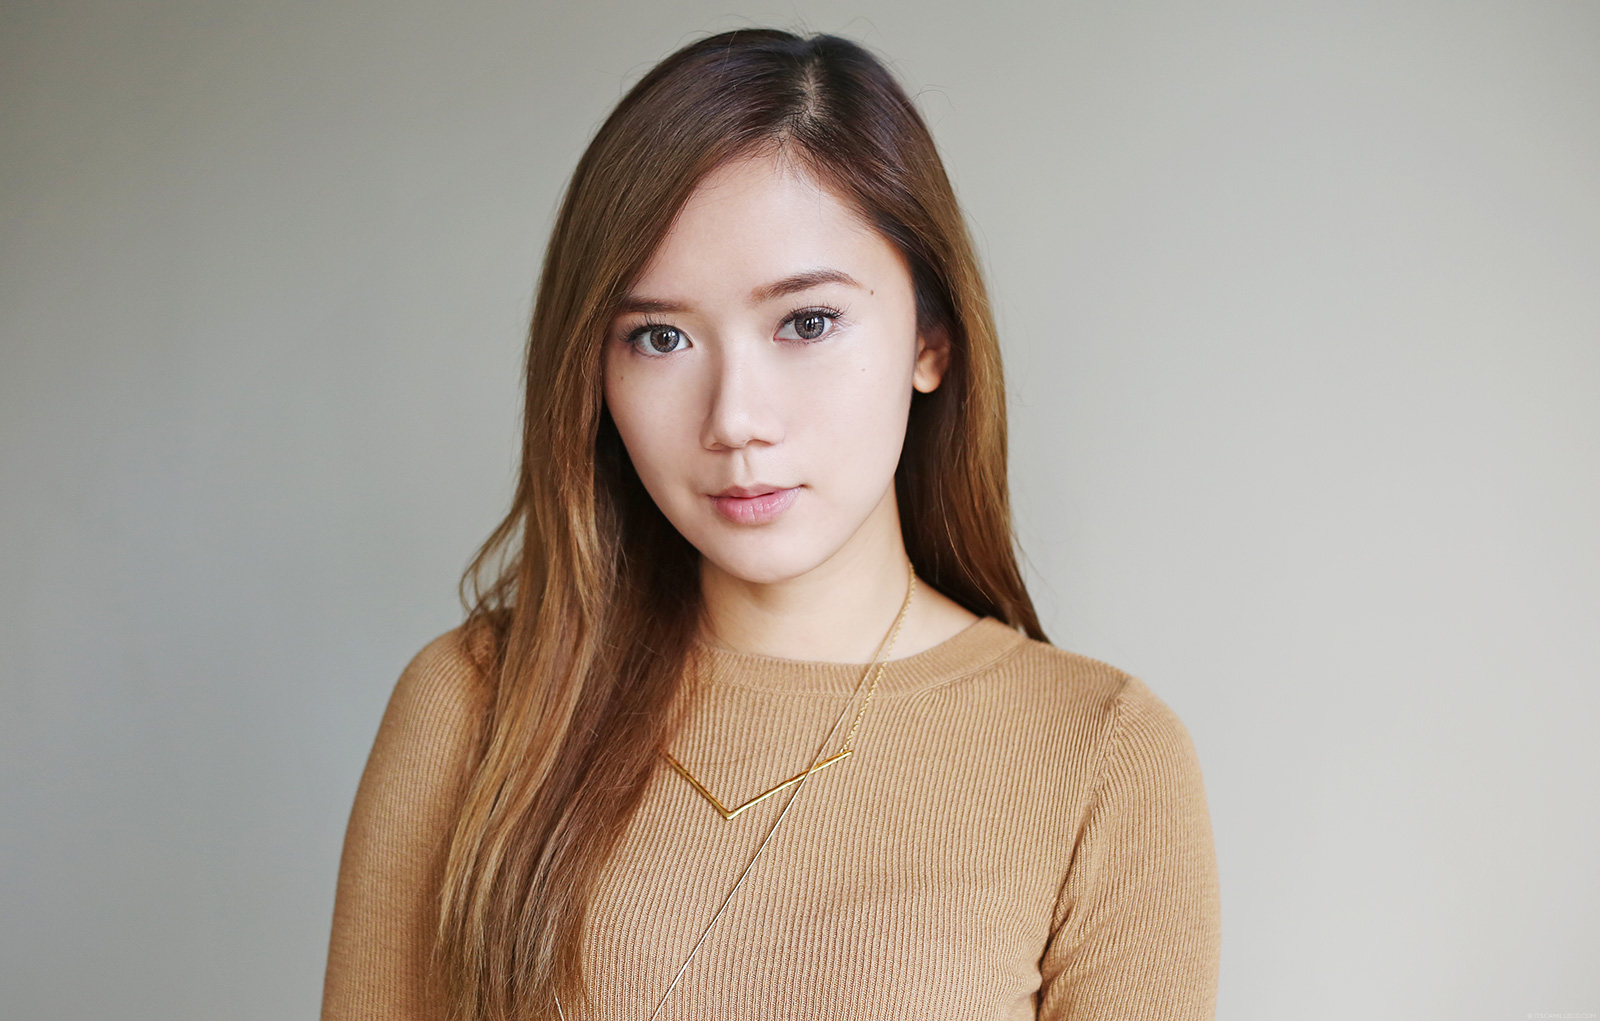
I’m all set! I just finished my look up with nude lips by combining Topshop’s Saint and L’Oreal’s Barely Coral.
Isn’t makeup just wonderful? Make sure to check out Luxola for more hard-to-find beauty bestsellers and use my coupon code BLX-CAMILLE to get a discount on your first purchase!
Love thisss! Where’d you get your contour kit?:)
It’s there :)
Amazing tutorial :) gonna try smokey eyes. :) btw, Do you watch makeup and hair tutorial in victoria’s secret?
No, but maybe I should watch some! :)
Love this look!
http://www.mikkigalang.com
Thanks Mikki! <3
I have zero talent on applying make up. This could be a great help! :) You’re so pretty, Ms. Camille! :D
Love,
Ericka Garcia
I used to have zero talent too! :) So there is hope for you! :)
very beautiful
Thanks Anne-Marie!
I looked at my eyeshadow kit and realized that I havent used the color green, it seems so hard to use unlike the neutral colors :( but you totally nailed it ate cams! :))
I think that I might need the foundation you used because I have dry skin and when I use other foundations it looks cakey on my face :( do you think that foundation will be good for me to use ate cams? :)
I think so. It’s really moisturizing :) Doesn’t feel heavy too! :)
Amazing combination of green and cream. Your eyeshadow blending skills are in the super expert level! Haha! I never actually practice smokey eye makeup with other colors because I guess neutral palette is my comfort zone and brown makeup goes super well with everything but I guess this is worth to try. Thanks for sharing!
Yes you must try! :) Switch things up a bit! :)
I’m inlove and been practicing with green eyeshadow lately and I’m glad you’re into it too. <3
http://www.girlslittlehub.com/
<3
I have always found it extremely challenging to put eye shadow on my chinita eyes. Thank the heavens for you Cams! There are only a few bloggers/YouTubers who I can get tricks from. Yay because I have you!
https://annescribblesanddoodles.blogspot.com/
Thanks Anne! We gotta stick together! LOL!
What a great tutorial! I wish i can do make up as good as you
http://www.rachelkiml.blogspot.com
Thanks Rachel! This is super easy. If I can do it, so can you! :)
Hi mis cams…. Sleek make up is already in the philippines they can be found at shangrila…..
I have that contour kit…
Just sharing to all the make up lover out there ;)
Oh they are? I didn’t know that! :)
Very helpful :) thank u so much for this blog Ms. Camille :D
Thanks karole!
COOL TIPS, YOU ARE SO PRETTY
SOMETHING REAL SERIOUS
INSTAGRAM
Thanks ollyvia!
SO gorgeous! I just noticed lately, you get rid of your signature bangs♥ I love those bangs! the sweety patootie camille. That doesn’t mean that I like you less, in fact I like you more because despite the change you’re still gorgeous and beautiful. I miss doing this on my blog, everything had changed after giving birth and this one inspires me to do a makeup tutorial again. This is perfect for night outs and party2! :) hehe.Will be checking out Luxola for sure. Thanks for the tutorial pretty!
xoxo
http://www.switbbydoll.com
Yes I did! For some time now! :) I know my old bangs are missed by many but I wanted a more mature look :) I hope you get into blogging tutorials again! Don’t forget to do little things for yourself still :)
Great tutorial, Camille! I really want that Contour and Highlight kit! It’s soooo hard to find a decent one here in the Philippines and I’m beyond obsessed with contouring lol (Kim Kardashian lang ang peg hahaha). I think I’ll try to order these na lang! It looks good on you <3
http://www.thestylishbipolar.com
Thanks kyle! I super love it! All my blogger besties keep getting this from my kikay kit whenever we’re together :)
I love the tutorial! And your necklace is really cute :)
http://mrmichell.tumblr.com
Thanks Michelle! :)